Application Access
Add User to created Service
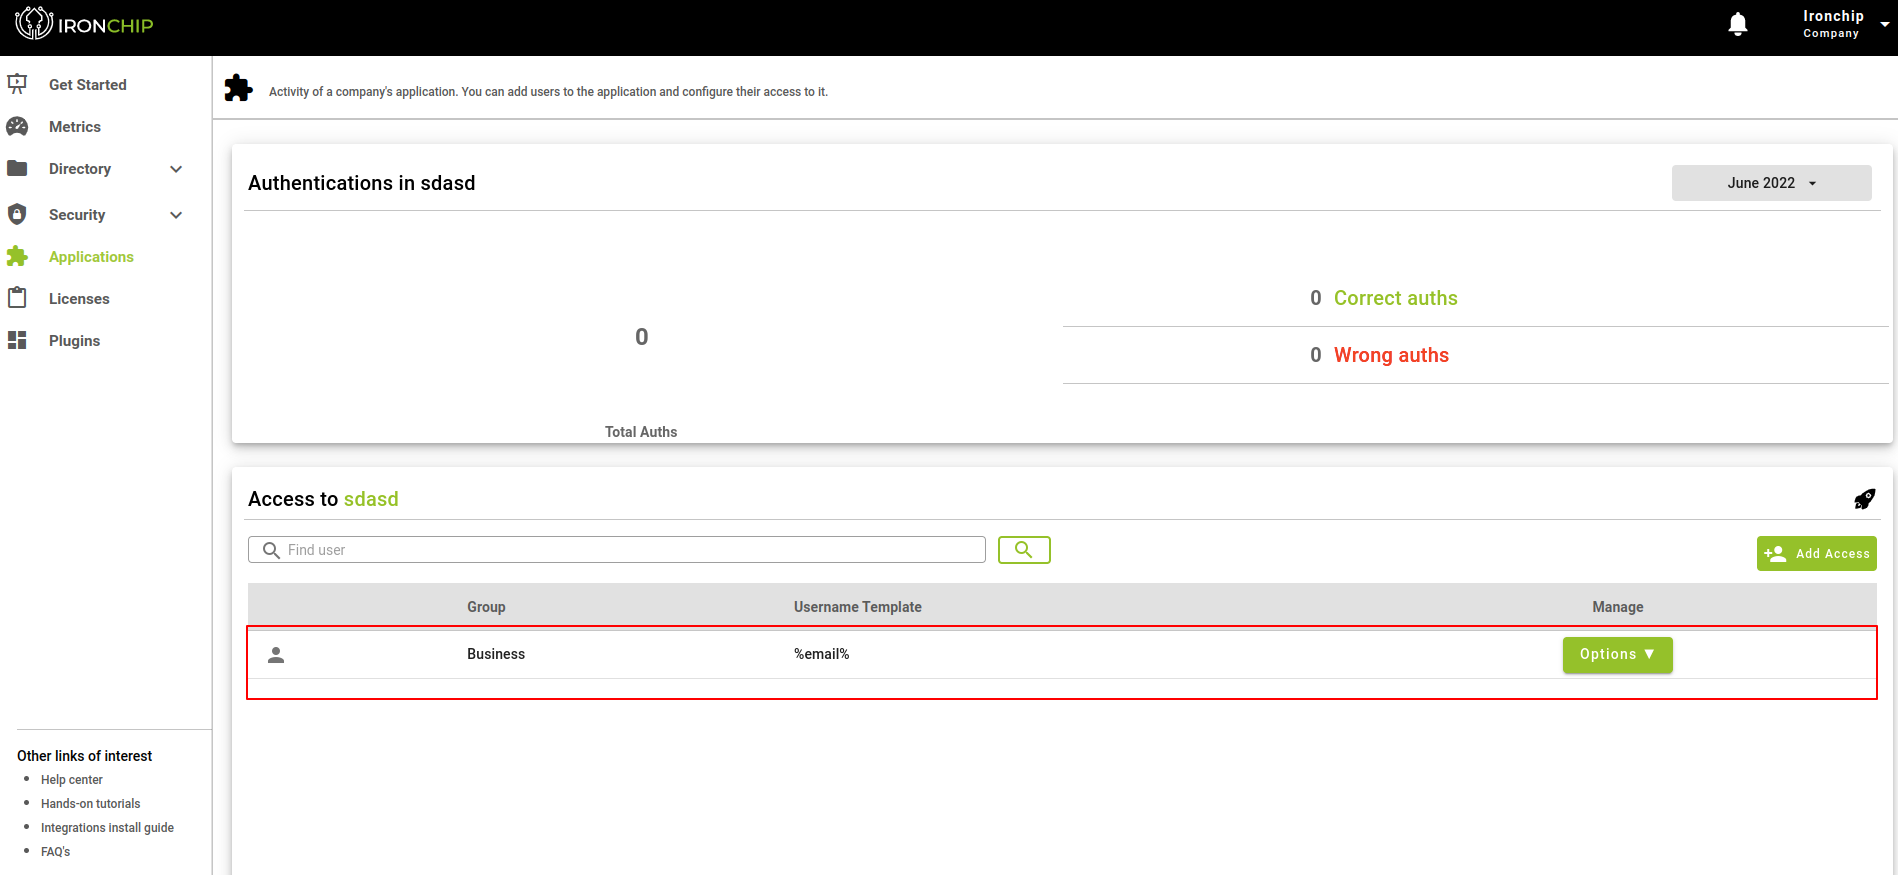
To add a user to service, start from the Applications section, where you will select the service to which you want to add one or more users. Once on the application’s information page, you will be able to see data such as the number of successful and unsuccessful authentications to access the application.
You will also be able to see a list of all the groups to which access has already been generated.
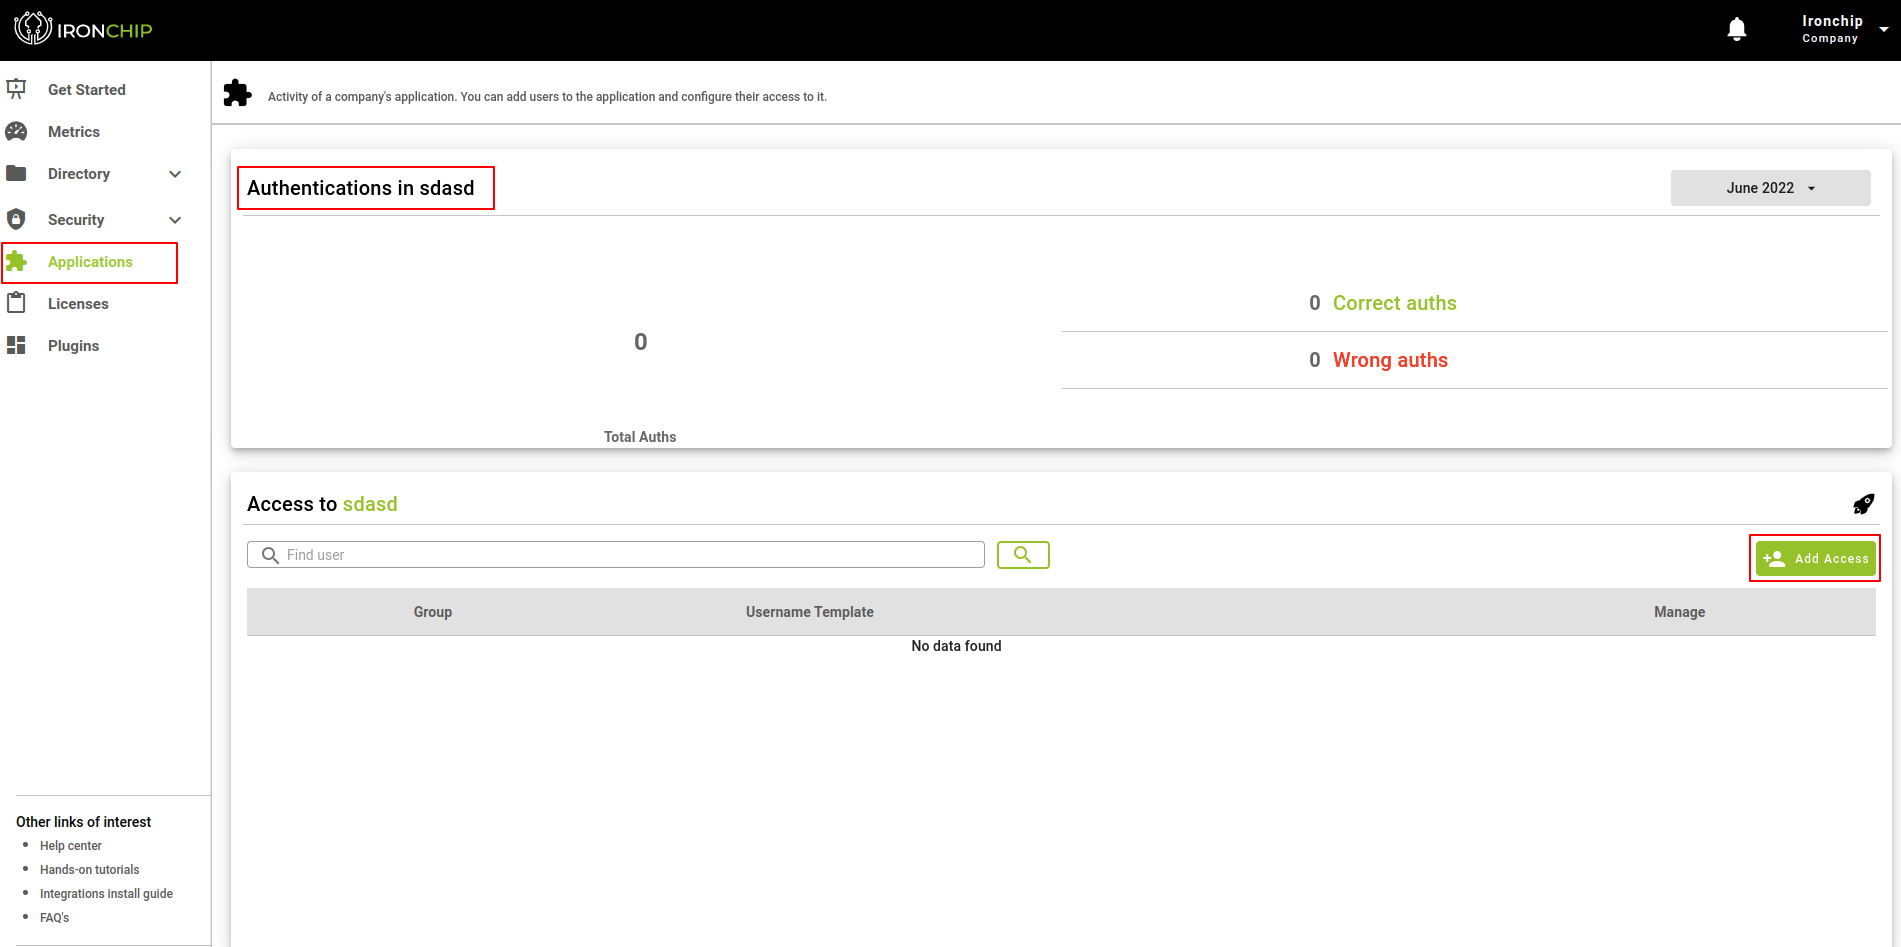
To give new access, we have a button Add Accesses, when you press it a new window will be displayed with the 5 steps involved in the process, the first step will be to select the group of users to which we want to give access to the application, for this, we have a list of all the groups that are created so far in the company. To select the desired group or groups, simply click on the checkbox to the left of each group name.
Note: It is important to specify that this section will only be able to add groups of users, in this way the individual users are treated as a user within their own personal group, a group that will have its own name.
Click the Continue button to access the next step of the process.

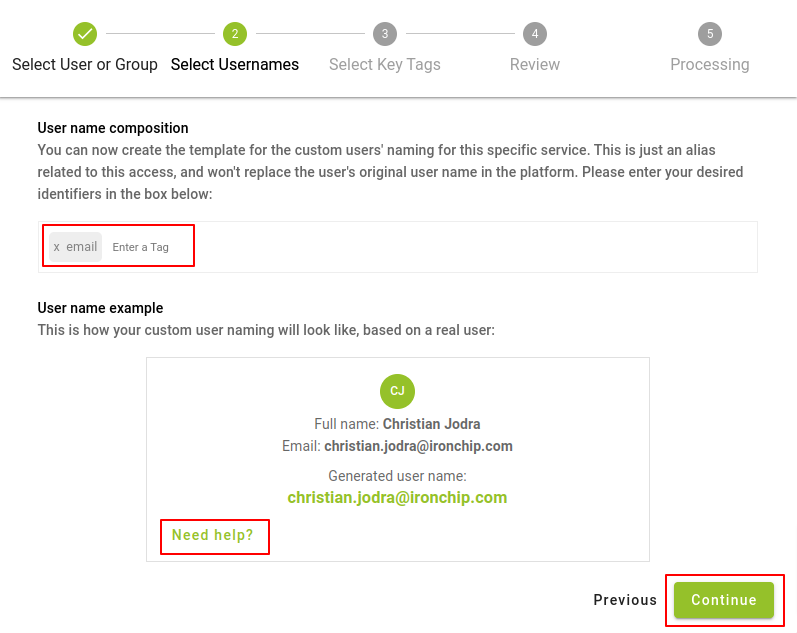
In the next tab, you will proceed to choose the username format that all the users you are adding to the application will have. By default the Email will be selected, however, there are a series of labels (name, surname, domain, etc) that will allow you to build the format that best suits your requirements, to access them you will have to click on the area where it indicates Enter Label.
Note: In case of doubts, you have a help block located at the back of the example, click on Need Help to access it.
After choosing the desired format, click on Continue.
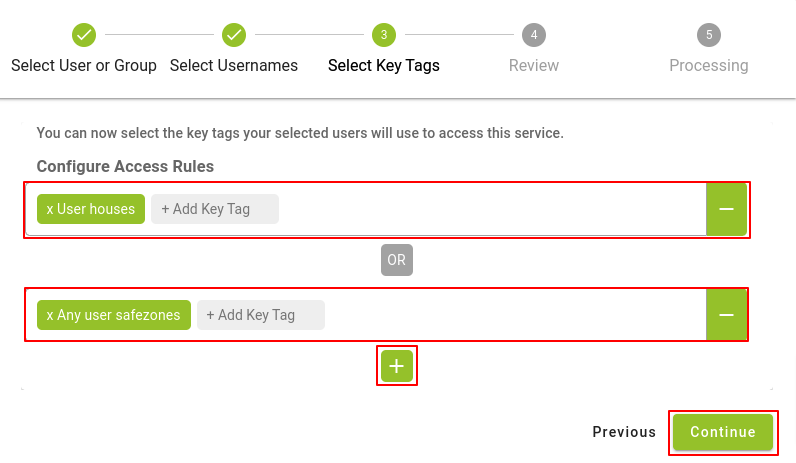
The next step will be to select the Key tags that we will assign to the chosen group, we will have the option to choose combinations of key tags by selecting more than one key tag on the same line and then click on the “Continue” button.
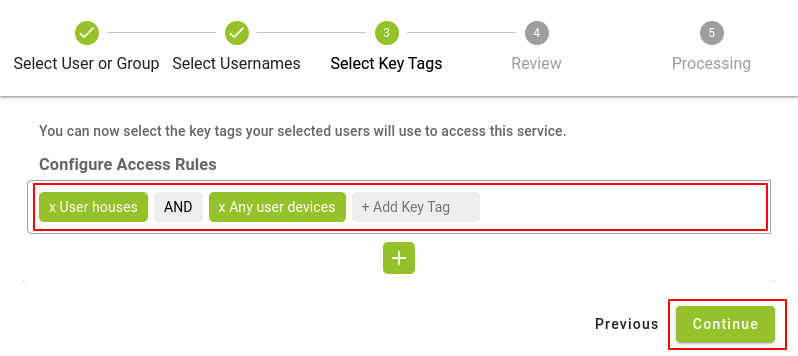
To distinguish between one or the other key tag option, click on the "+" button and choose the desired key tag in the text field. If in the process you doubt your choice, you can use the "-" button located to the right of the field to delete that line of key tags.
Once you have selected the desired key tag or combinations, click on the Continue button.
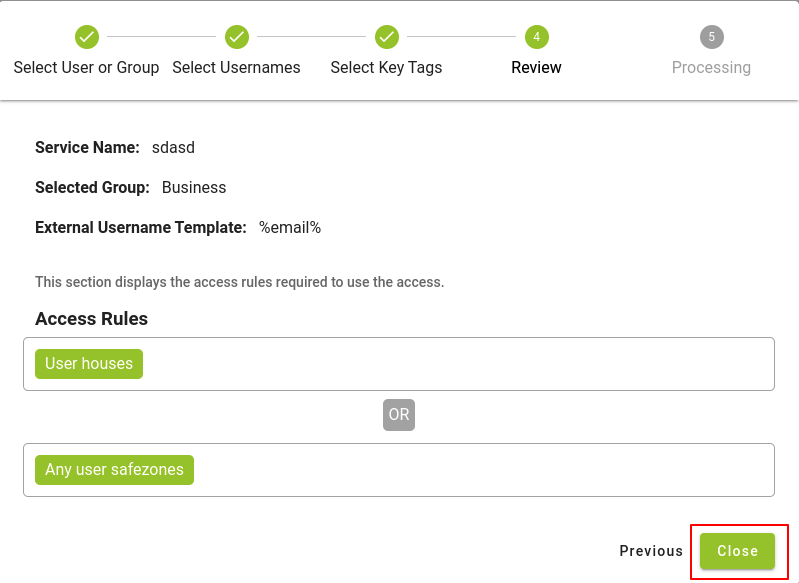
In the following window, we will see a summary of all the data that in the previous steps have been selected, after reading them carefully we press the Close button and the access creation process will start.
A few seconds later, if everything goes correctly, we will see the access we have added on the main screen. This access can be managed at any time by pressing the Options button.