Plugin
Installing the NPS Plugin
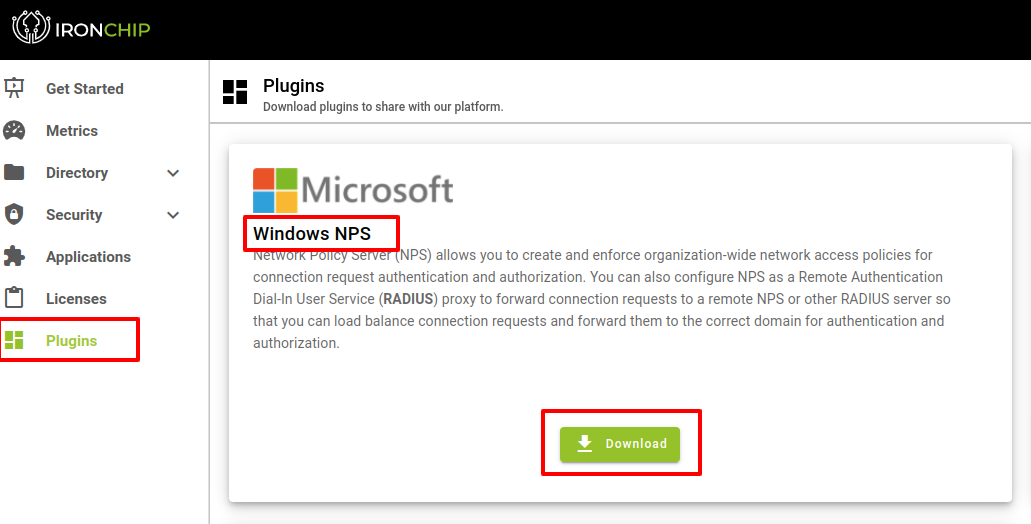
To install the plugin, you need the file IronChip Windows NPS, which can be downloaded from Plugins section in Ironchip Dashboard.
After downloading the plugin you will proceed to install it.
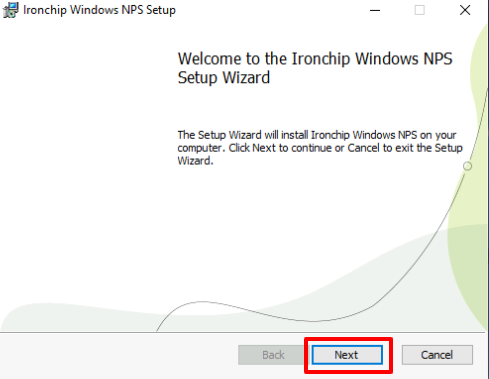
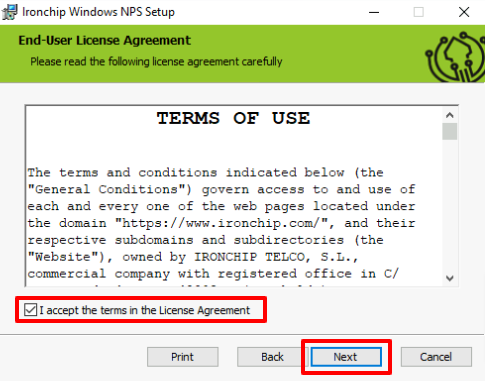
Click Next, on the next screen you will accept the terms of use, and click Next again.
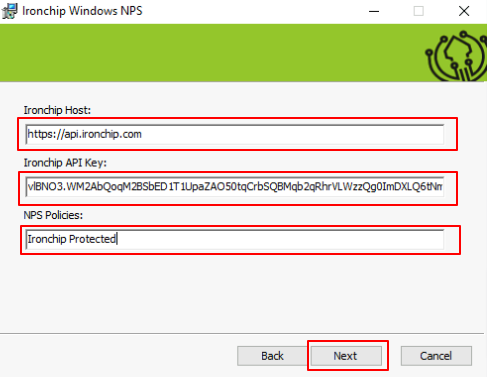
Next window you will need to fill it with the following information:
- Your Ironchip host. If you are using our cloud solution, it will be api.ironchip.com. If not, please provide your custom host.
- Your company’s API Key achieved when creating the service.
- The network policy name you wish to protect with Ironchip NPS. In the example the created policy, IronchipProtected, will be used.
- Then click on Next to continue.
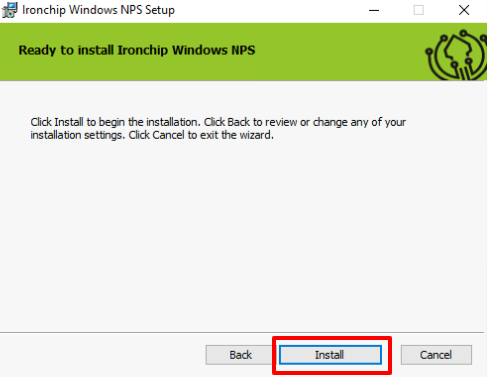
Once in the following screen and with all parameters configured correctly, click Install
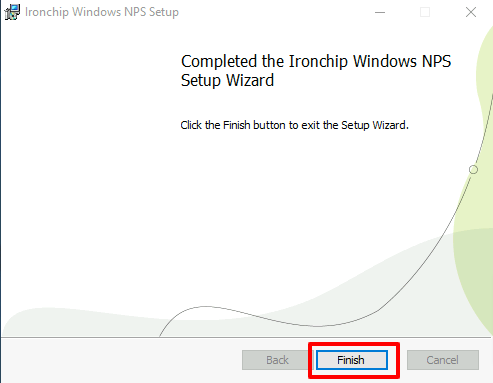
If everything has been configured correctly and the installation has been successful, you will see the following screen. Finally, to finish the installation, click Finish.
Installation on Windows Server 2008 and Windows Server 2012
Before proceeding with the installation of the Ironchip Plugins NPS, the following installations and configurations are required:
JDK and .NET (our team will provide these plug-ins), we also need to make a change to the Ironchip certificate format to be accepted.
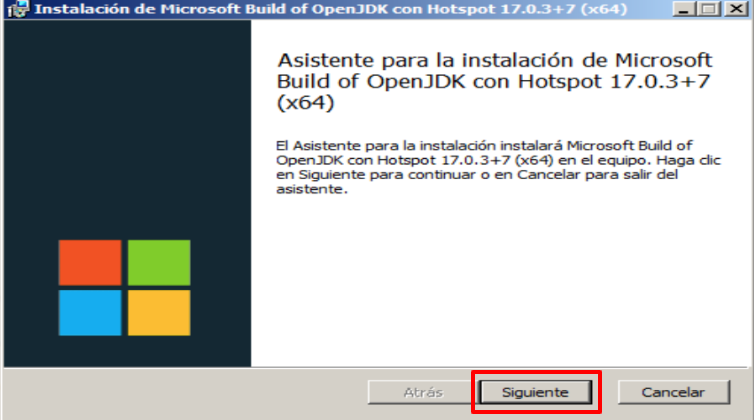
JDK Installation
Open the program and click on Next.
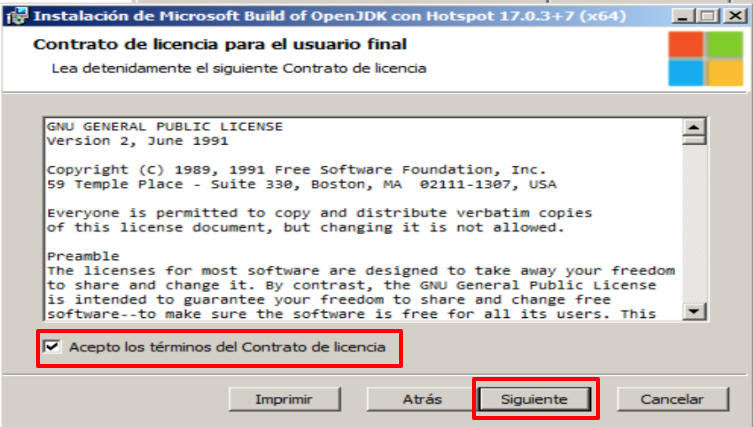
On the next screen, we accept the terms of the contract and click Next again.
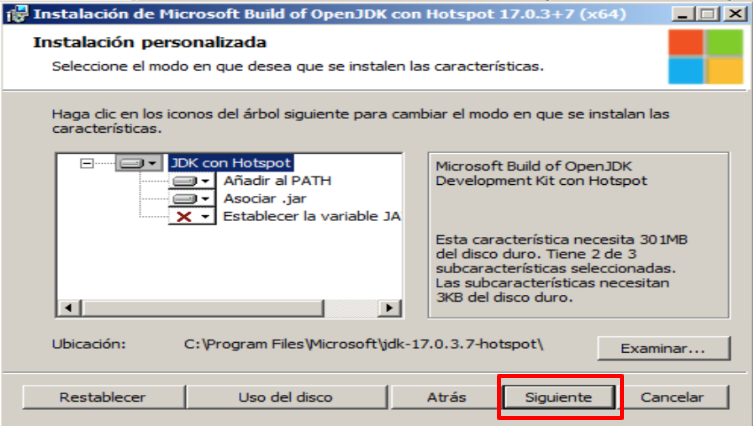
In the window that appears below you have the possibility to customise the installation, however, the default configuration is enough for the subsequent installation, so in this case, it would only be necessary to click on Next.
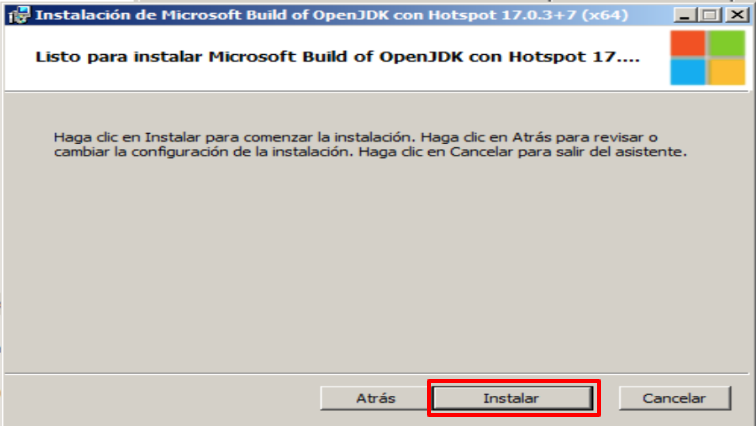
When you get to this screen, just click on Install.
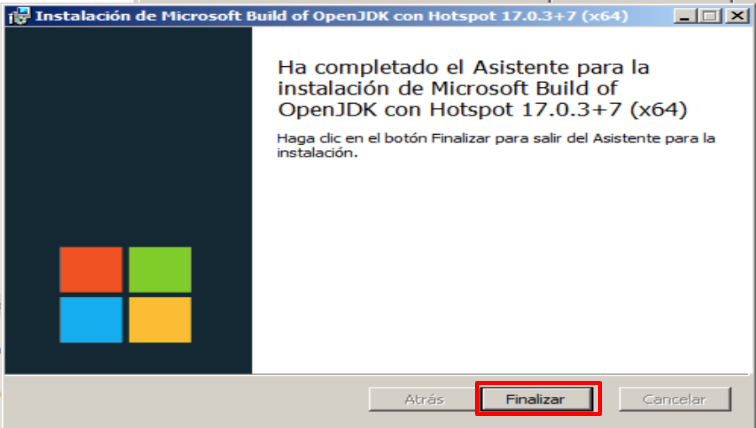
If everything has gone correctly, you will see the following screen and click Finish.
.NET installation
Note: This step is optional on Windows Server 2012.
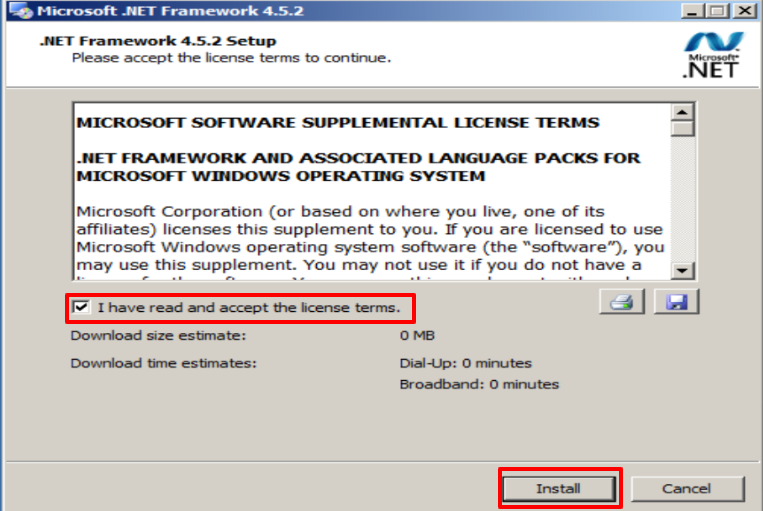
When you run the program on the next screen, you must accept the terms and conditions and click on Install.
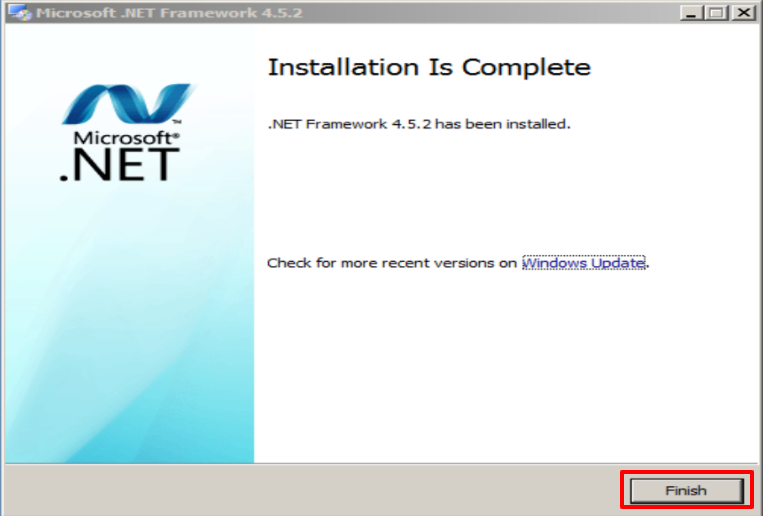
Once the installation is complete, you will find this window and click Finish.
Change of the format of the Ironchip Certificate
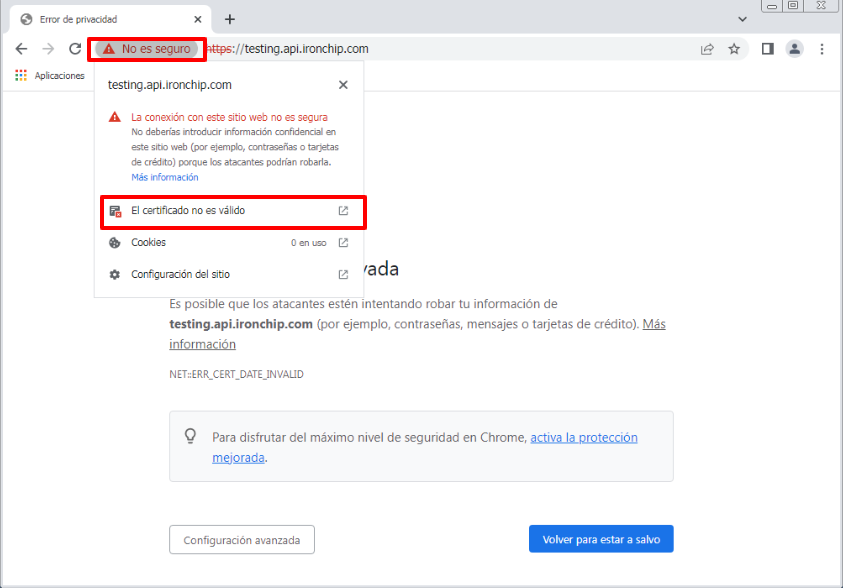
The first thing to do is to enter the api.ironchip.com in your browser (in this case Google Chrome was used), but this can be done from the browser of your choice.
Then in the section where it indicates: “Not secure,” we click and we will see the option “The certificate is not valid”, we click there.
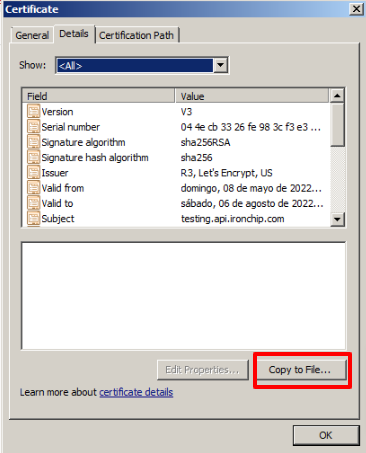
On the next screen go to Details, and click on the Copy to File… option.
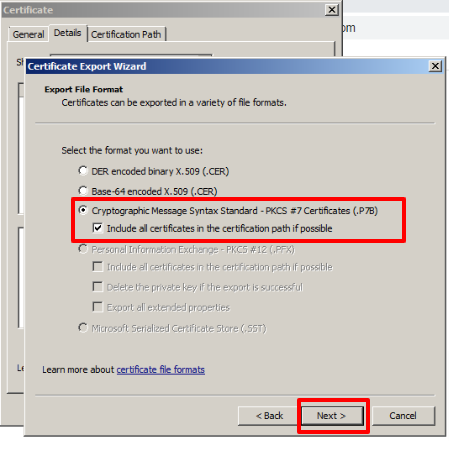
In the next window, we choose the third option and select the checkbox Include all certificates in the chain if possible.
Then click on Next
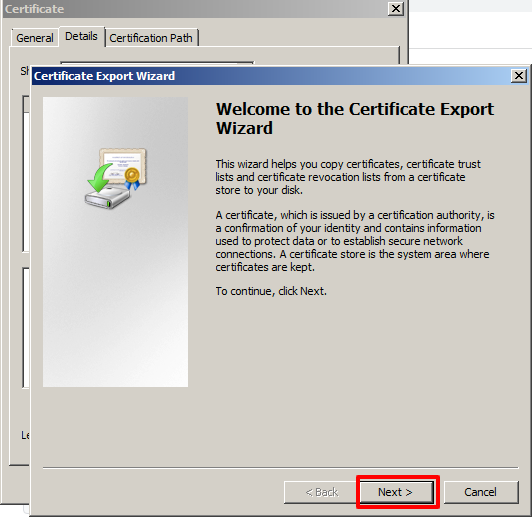
A new window will open where you click on Next.
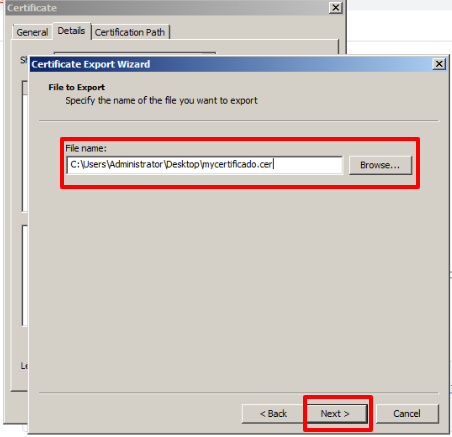
On the next screen, we choose the path where we want to export the certificate and the name we are going to reassign it. Once this process has been carried out, click on Next
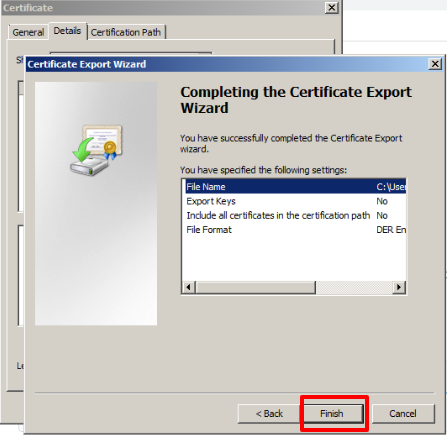
The Export process will be carried out and then you will see the following screen and press Finish.
At this point in the process, we already have the certificate in the correct format on our computer, so we proceed to import it.
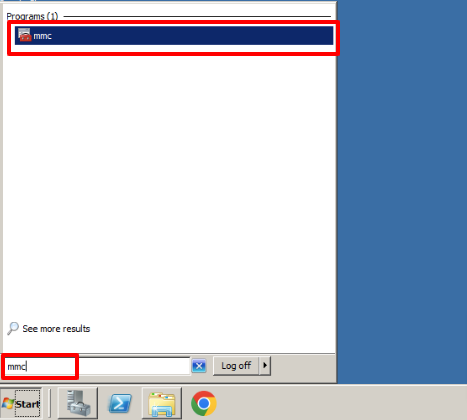
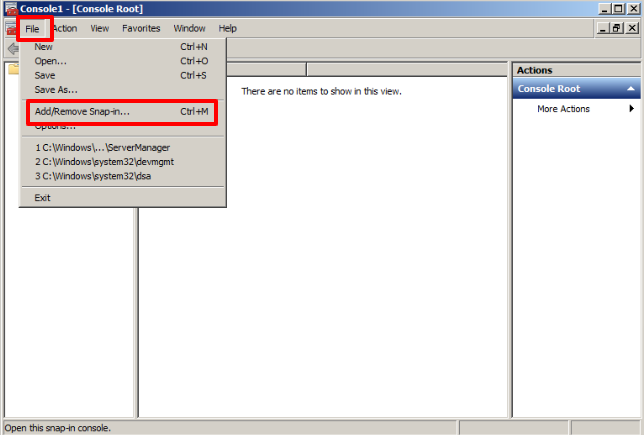
In the program search engine we look for: mmc. Click on the program.
In the next window, we choose File and then Add/Remove Snap-ins
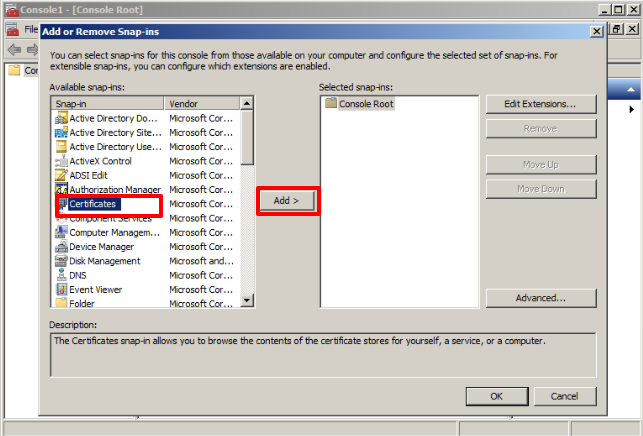
The following window will appear, select Certificates and click on Add.
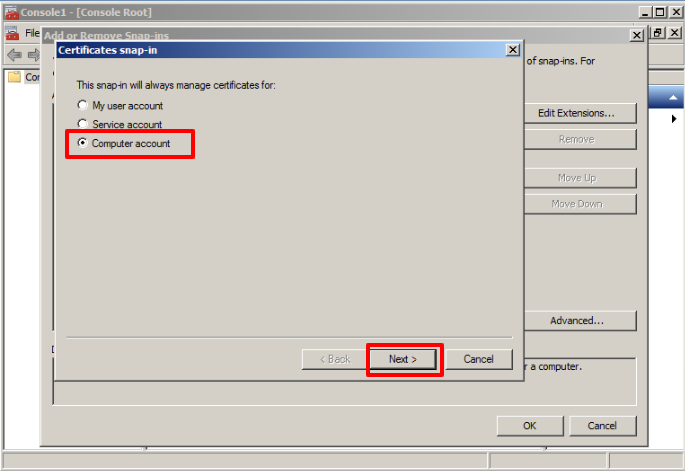
In the next window, choose the Computer account option, click Next
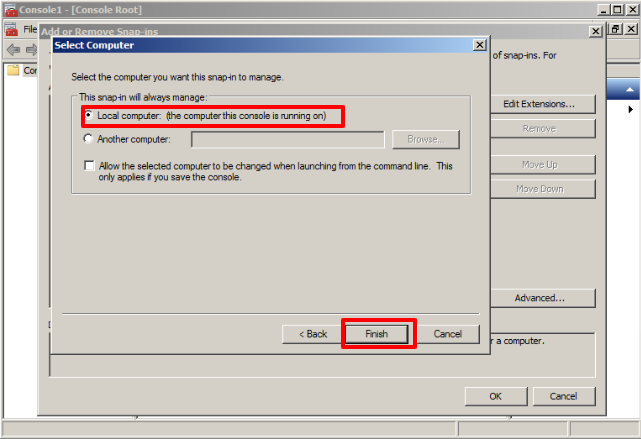
Then choose the first option shown and click on Finish.
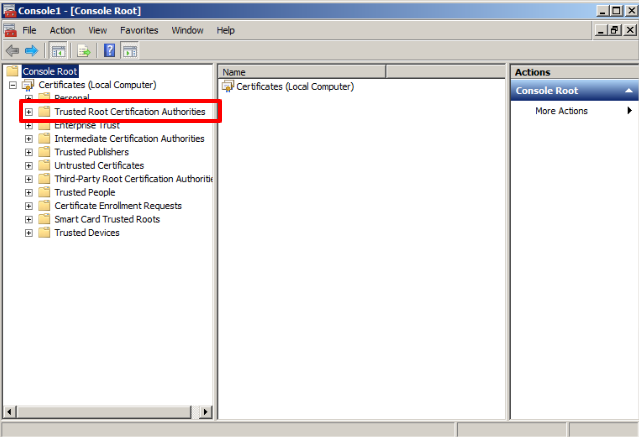
Now in the Console Root folder (local) Certificates will be added, click on them, and the following window will be displayed, there we choose the option Trusted Root Certification Authorities.
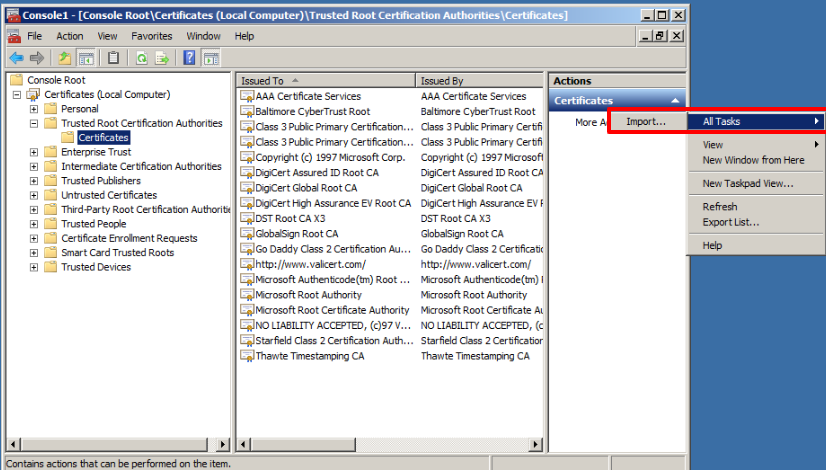
Expand the Certificates folder inside the previous folder and then in the rightmost tab of the screen choose More Actions, then All Tasks, and then Import.
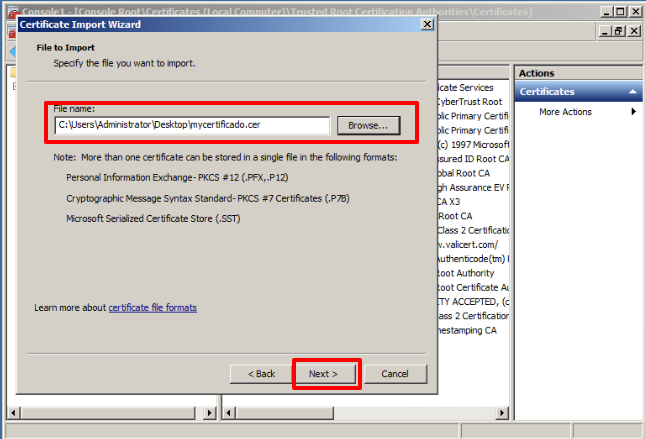
A window will open where we must choose the location where we have previously exported the certificate.
Note: it is important when choosing the certificate to select the correct extension, so it is recommended to choose: AllFiles( * . *).
Then click on the option Next.
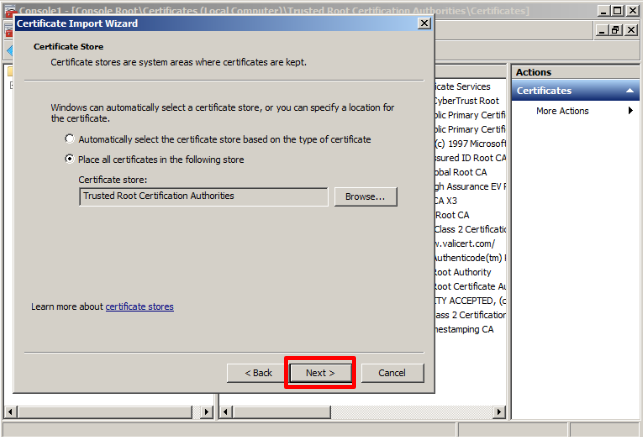
In the next window, click on Next again.
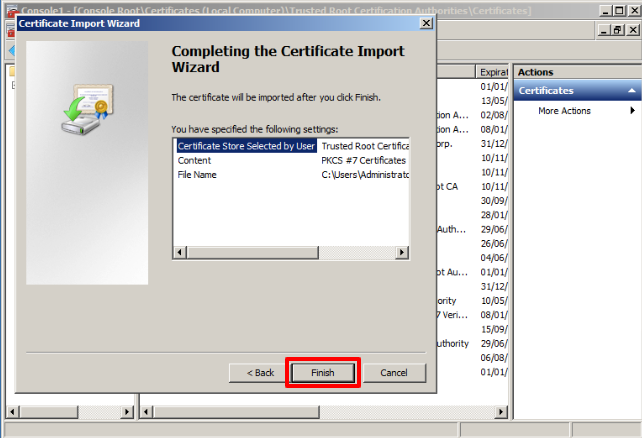
A window with the import summary will be displayed, just click on Finish.
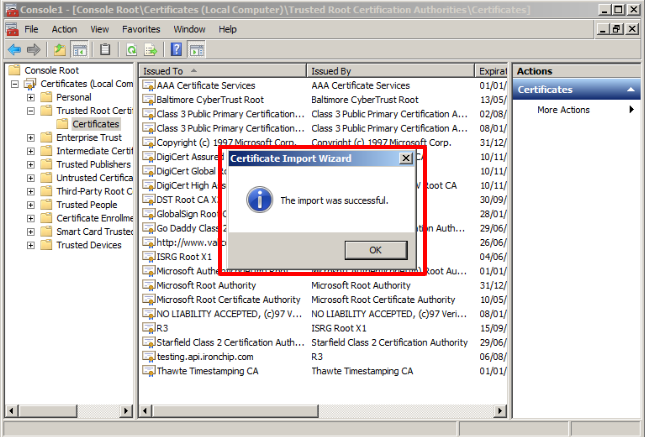
If everything went correctly, the next window will be a Successful Import screen, click OK.
Test NPS Plugin
-
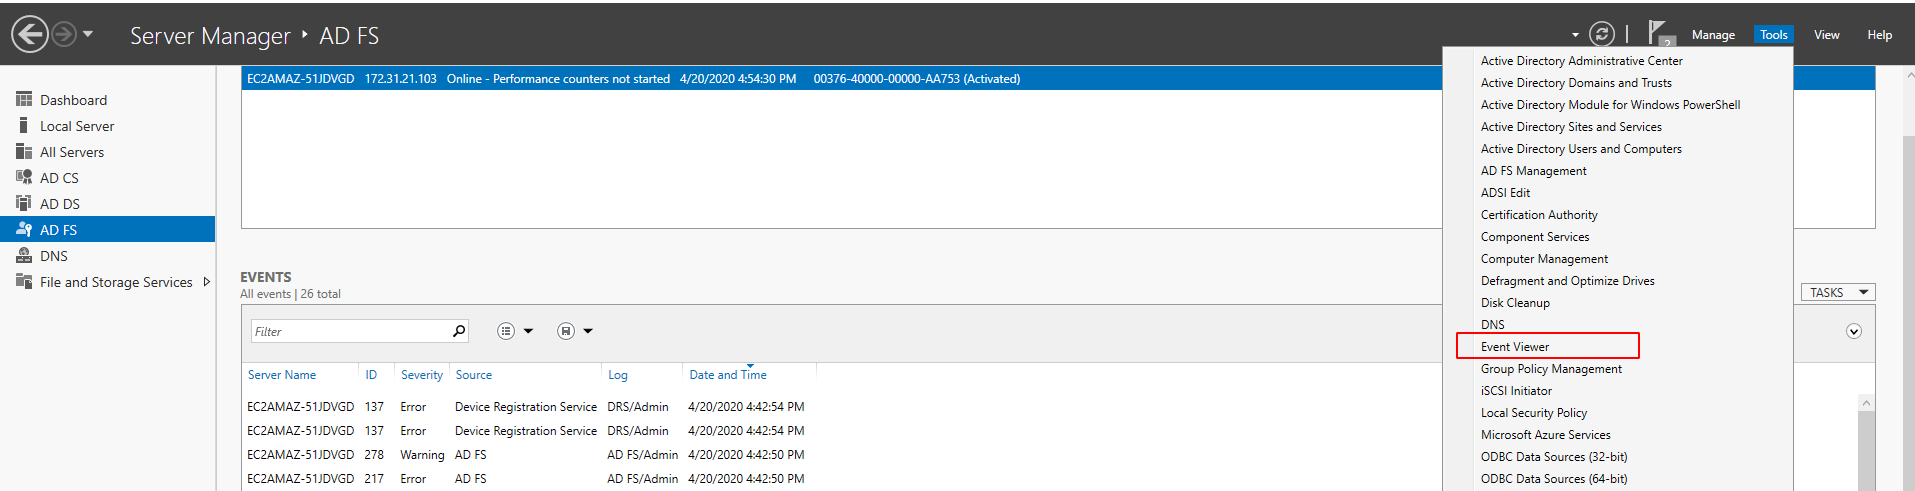
Access the Event Viewer to view the IronChip NPS plugin logs.
-
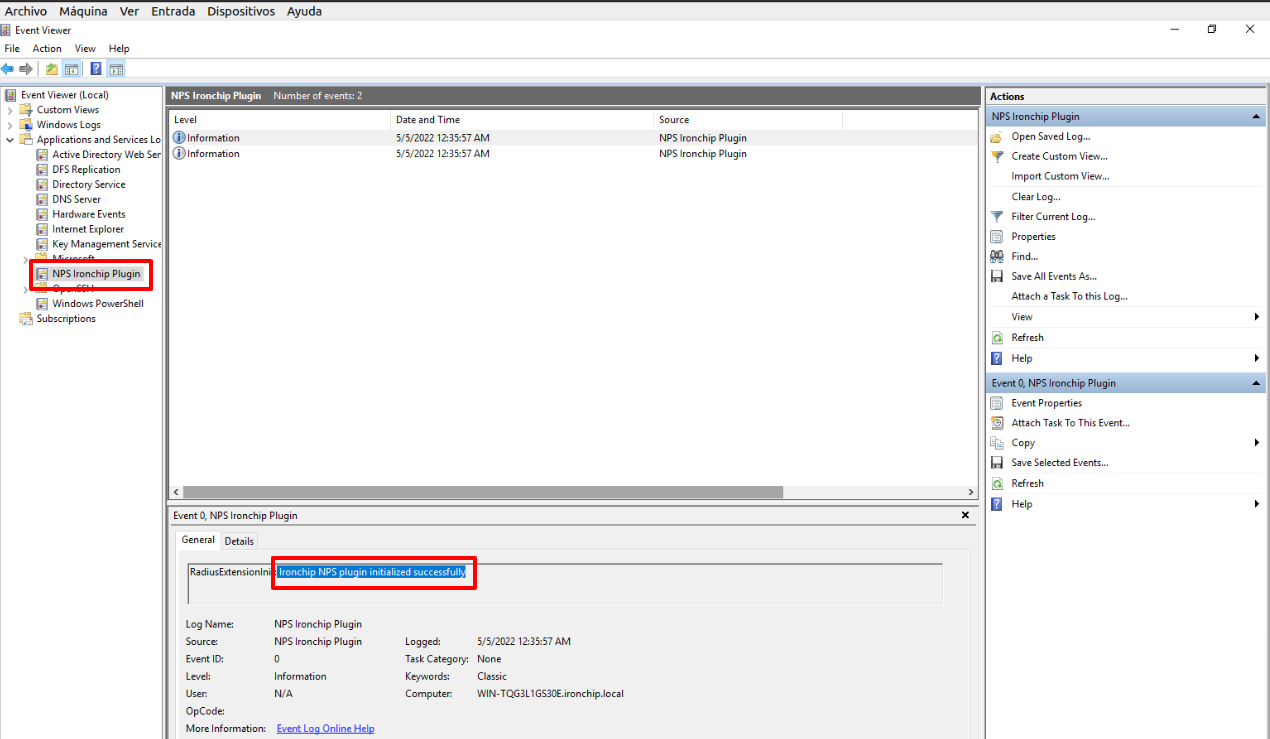
If everything is OK, you should see NPSP Ironchip Plugin in the list of applications and services logs. Click on it, and if the plugin is installed you should see Ironchip NPS plugin initialized successfully. in the logs as you can see here:
Note: If you get the message “Unable to load IronChip license key.” Check that it is the correct license and try again. If the problem persists, contact IronChip support for assistance.