Microsoft 365 - Office 365
Prerequisites
- The Windows Server machine must have an assigned domain and an associated FQDN accessible from the Internet.
- For the generation of an AD FS integration on a local server, it is necessary to have a certificate associated to that domain issued by a valid certifying entity; in addition, AD FS must have access to the private key. AD FS requires to have this in PFX format.
- The domain assigned to the machine in Azure must be validated by inserting the corresponding record required by Azure to verify domain ownership in the DNS.
Worth noticing
During the setup process, your Microsoft 365 will be configured as part of a federation farm being the main server the Windows Server.Due to this, the login user experience will change and all the login attempts will be redirected to the AD FS service of the local machine. Please take this into account before proceeding with the installation.
Integration
The first step is to install and configure AD FS and the Ironchip AD FS Plugin. In order to do so, please follow up the AD FS.
Once AD FS has been properly installed and configured we can proceed with the Microsoft 365 federation.
Microsoft Azure Active Directory Connect installation
The first step is to download Microsoft Azure Active Directory Connect.
When the download has finished, execute the installer in the Windows Server that has AD FS installed and integrated with Ironchip.
Select the express settings when installing when prompted, then on the Connect to Azure AD installation step you have to introduce the credentials of your AD global administrator account.
In the next installation step, Connect to AD DS, the credentials that are being requested are those of an administrator of the Active Directory on the domain controller.
When the Azure AD sign-in prompt appears, notice if there appears the domain which is going to be associated with a Verified state, if a verified domain doesn’t appear, please follow this guide to verify the domain.
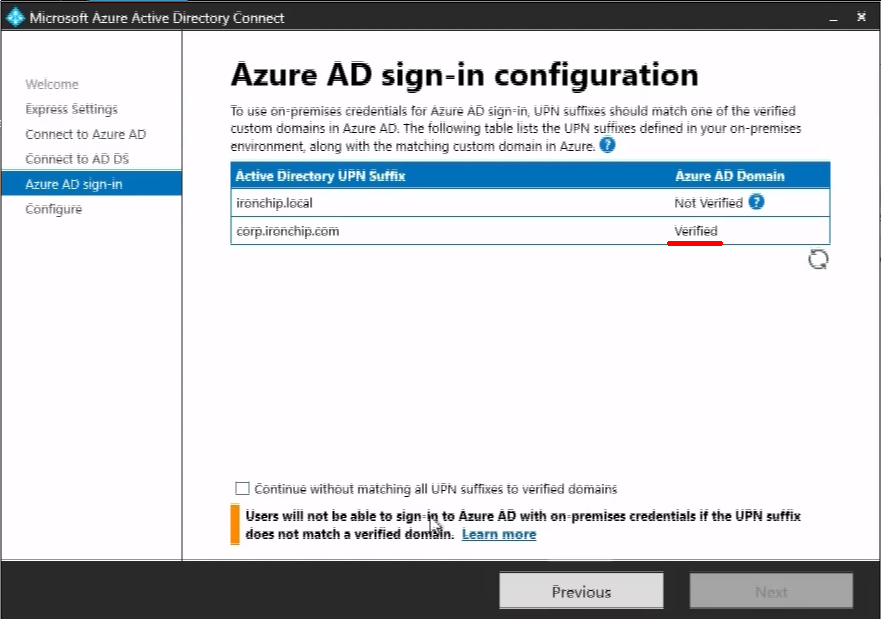
For now, if the installation process doesn’t allow you to continue, it is safe to check the “Continue without matching all UPN suffixes to verified domains” as we will create them later as needed.
Lastly, once clicked next, the installation will begin in the Configuration step.
Configuring the UPN suffixes needed
Skip this step if you haven’t been requested to check the “Continue without matching all UPN suffixes to verified domains” checkbox during the AD Connect installation.
In order to configure your UPN suffixes, open the “Active Directory Domains and Trust” applicative in your windows server. Then right click on the first element of the list, “Active Directory Domains and Trust” and click on Properties.
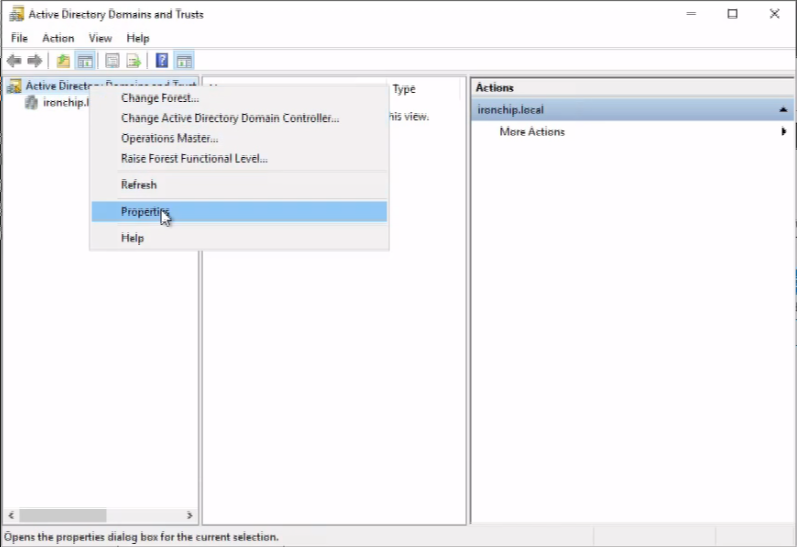
Write down the domain as it appeared in Azure and then click on Add to enable the UPN suffix, close the tool and the UPN should be correctly configured by then.
Federate Azure AD with your local AD FS
Please, proceed to open the Azure AD Connect application in your Windows Server, then click on configure.
On the task list, proceed to select Manage Federation, and then Federate Azure AD domain.
The first installation step, Connect to Azure AD, will request you an Azure AD global administrator credentials. The second step, connect to AD FS, will require you the credentials of a on-premise AD DS administrator.
The third step, requires you to select a federable Azure AD domain, for a domain to be available, it should have been already validated.
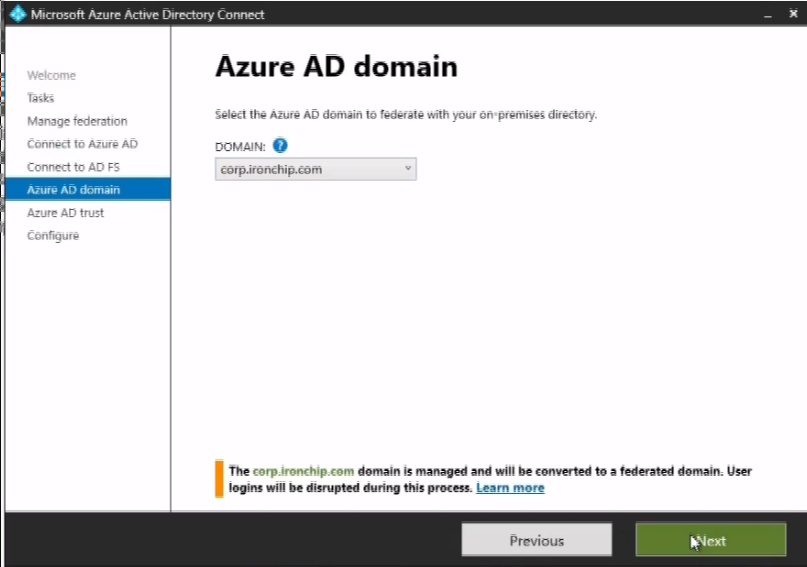
Read through the messages appearing in the Azure AD Trust step, and once having clicked Next, the federation process will begin.
Testing that everything is correctly integrated
The synchronization process in a AD federation farm may take some time, during this synchronization, the users may log in without being taken to the farm primary node.
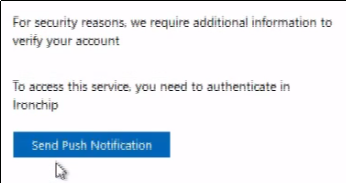
To test if the process has been successfully completed, try signing in into your Microsoft 365 Account, the login process should have changed redirecting you to the Windows Server AD FS for a SSO experience.
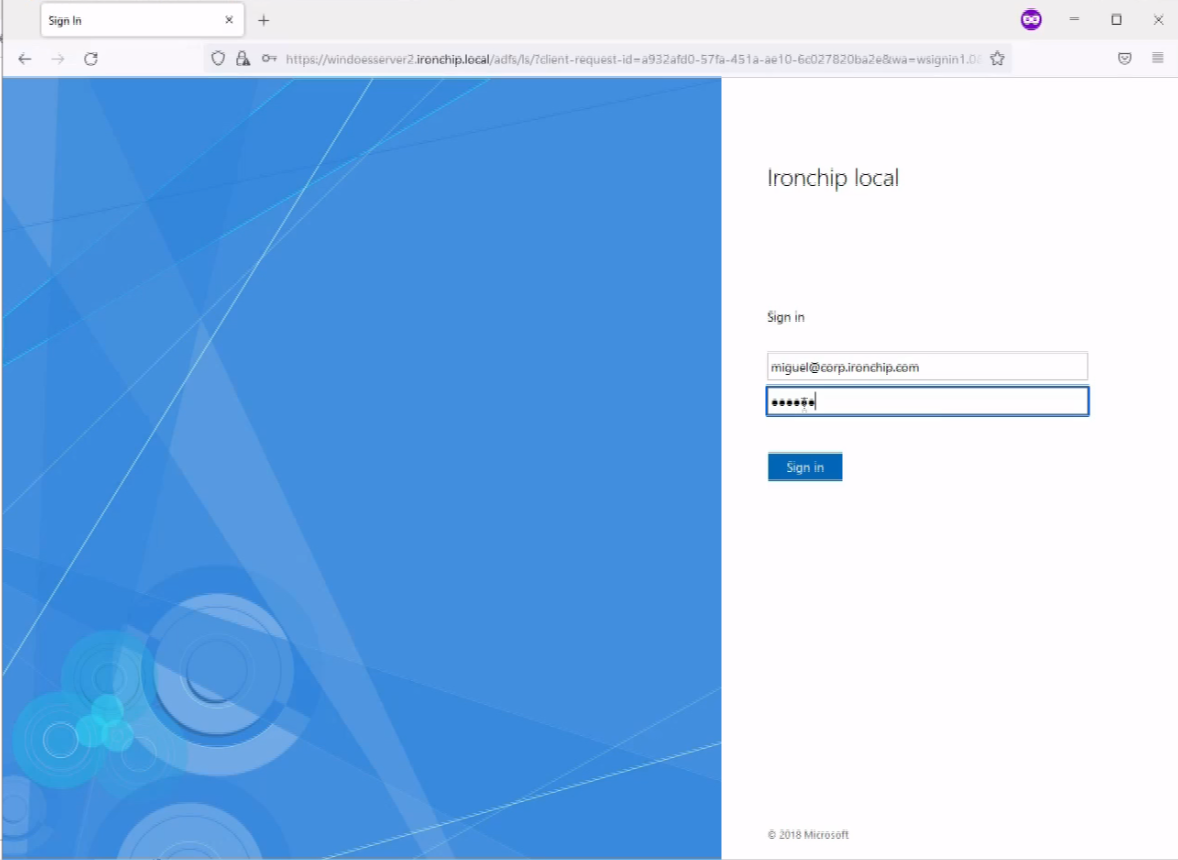
If the Ironchip AD FS integration has been previously completed correctly, and if the user is also in a group for which the Ironchip MFA is active, then it will require to allow the access via a push notification to the user configured Ironchip Authenticator.
Make local windows application request for credentials each startup
In order to make the local applications request for the AD FS credentials each time the user connects then enable a GPO with these parameters:
- Remove the data in the following folder each time the user logs out:
%LOCALAPPDATA%\Packages\Microsoft.AAD.BrokerPlugin_cw5n1h2txyewy\AC\TokenBroker\Accounts
```%
* Add the following entry in the windows registry:
HKLM\SOFTWARE\Policies\Microsoft\Windows\WorkplaceJoin DWORD: BlockAADWorkplaceJoin VALUE: 1
* Set the following parameter in the GPO:
Computer Configuration > Policies > Windows Settings > Security Settings > Local Policies > Security Options. Value: Users can’t add Microsoft accounts