Azure AD
Azure Active Directory (Azure AD) is a cloud-based identity and access management service. This service helps your employees access external resources, such as Microsoft 365, the Azure portal and thousands of other SaaS applications.
Each new Azure AD tenant comes with an initial domain name,
https://learn.microsoft.com/en-us/azure/active-directory/fundamentals/
Integration process
Azure AD integrates with Ironchip through the LDAP protocol and, for this, we will need the configuration of Azure Active Directory Domain Services (Azure AD DS) which has certain requirements:
- Active Azure subscription and Azure Active Directory tenant associated with the subscription.
- Azure Active Directory Domain Service enabled and configured on the Azure AD tenant.
- Enable the option to secure via LDAP.
- Create the necessary certificates.
- Allow secure LDAP access over the Internet: An Azure network security group rule can be used to limit secure LDAP access.
- Synchronisation: Configure the groups you want to synchronise.
- Create a subdomain pointing to the external secure LDAP IP address: This case is necessary if the connection is to be made by enabling TLS in secure mode as the client’s certificate has to match the host’s certificate.
- User configuration
- Federated users: not supported.
- Synchronised users on premises: Ensure that password hash synchronisation is enabled for hybrid environments, if it is already enabled, run the following cmdlet to apply hash synchronisation at: https://docs.microsoft.com/en-us/azure/active-directory-domain-services/tutorial-configure-password-hash-sync#enable-synchronization-of-password-hashes Note: Users (and service accounts) cannot perform LDAP one-time bindings if you have disabled NTLM password hash synchronization in your managed domain. For more information on how to disable NTLM password hash synchronization, see Securing Your Managed Domain.
- Cloud user: Although the user has already been created from the cloud, you need to log in and change the user’s password.
For more information, see the official Microsoft documentation: https://learn.microsoft.com/en-us/azure/active-directory-domain-services/tutorial-configure-ldaps
Once the Azure configuration is done, we continue with the creation of key groups in the Ironchip platform. The form gives you the option to create key groups using the LDAP protocol in which you have to add some configuration such as the server URL and the certificate in case you want to enable secure TLS.
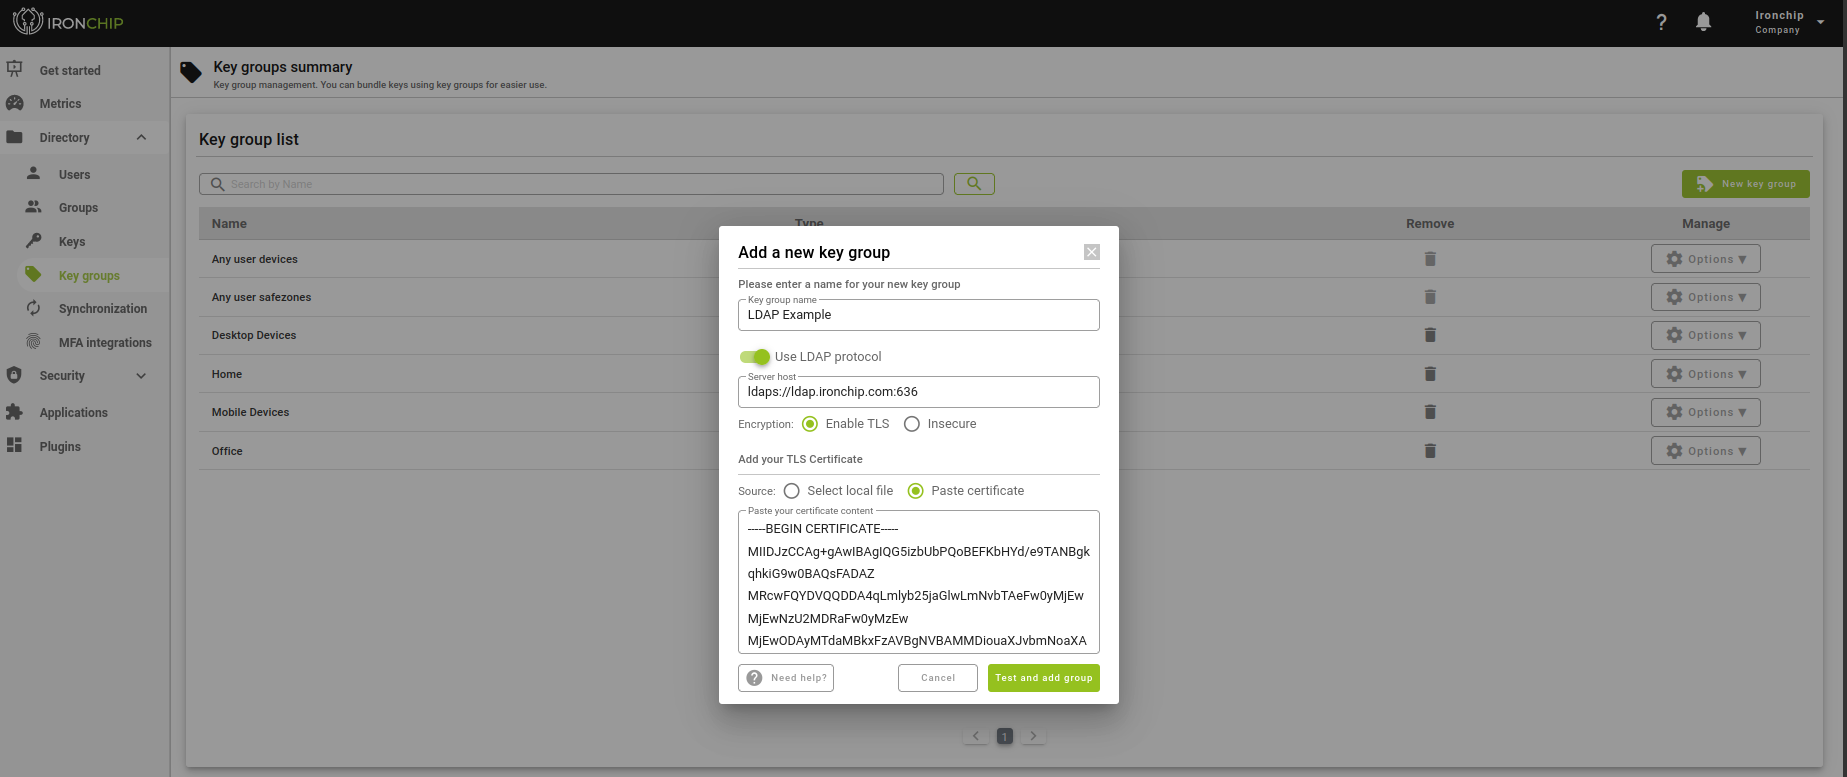
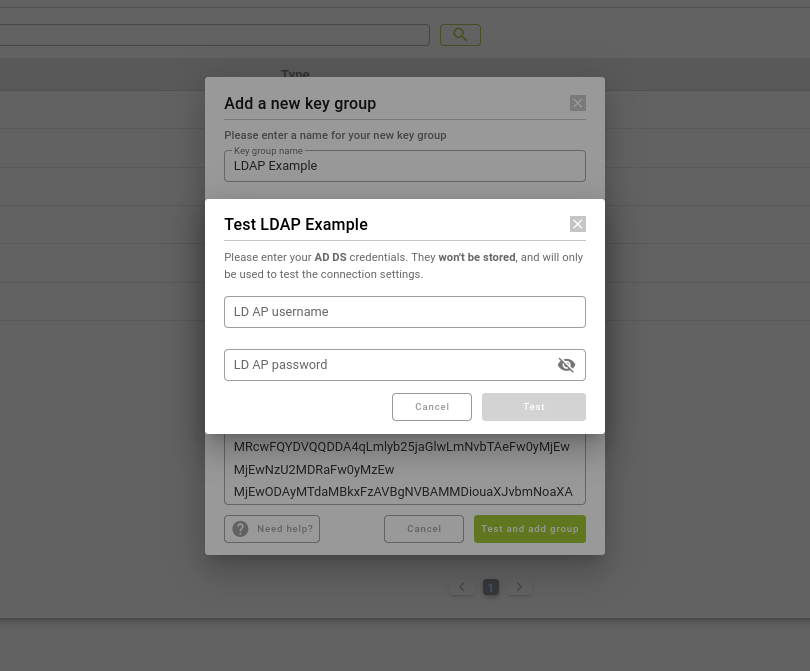
There is also the option to modify any previously added field, but whenever you want to add or modify groups of keys using the LDAP protocol, it will make sure that it works correctly by asking for a user and password as an example. In addition, once created, you have the possibility to test with different users in the key group options.
Authentication
Since we have a group of keys via LDAP, we are going to configure it in a login to start the authentication process. Note that the concept of user name on a service is not the same as the one used to authenticate with Azure AD, in fact, the user’s own email is used to authenticate with Azure AD.
The authentication process in a service starts like any other service by accessing with the user name previously configured.
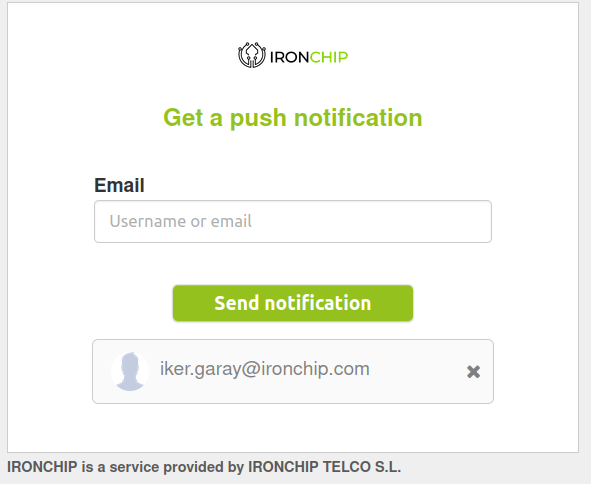
In case a key group via LDAP is required in the login, the following warning will appear for you to add the relevant email password.

And finally, if you have configured access with another type of key group as your device, don’t forget to check your Ironchip application to finalise the process and be able to log in to the service.