Setup
Create company Application
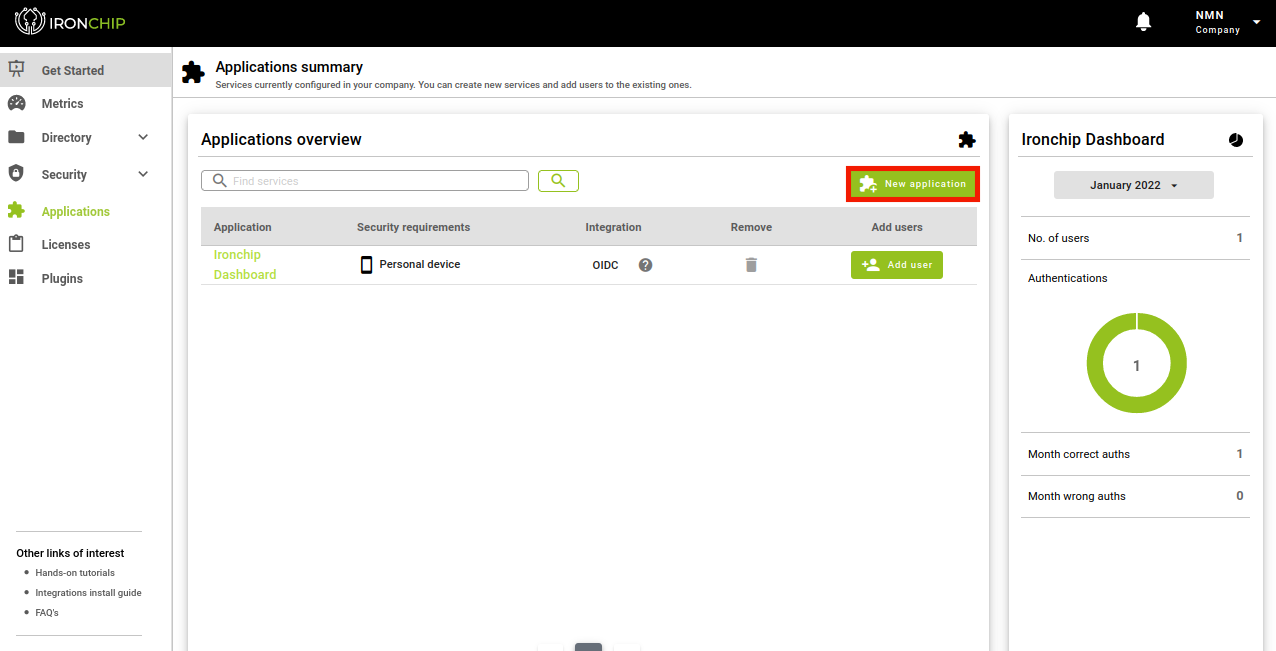
In the “Applications” section you can see all the protected services that have been added to Ironchip and their features. To add a service click on “New Application”, which will open a new window.
In the new window you will have to choose the new service, it can be one of those that appear in the list or a customized service, for which you will click on Custom Application. A new window will open.
In this window you will have to enter the data of the new service, if you have chosen one from the list the name will be predefined, otherwise you will have to enter it. In addition, the type of integration is API Key and the security requirements. The latter can be of two types which will be used to access the selected service:
- Personal device.
- Personal device + secure zone.
When all the fields are filled in, click on Add Service and the service will be displayed in the corresponding section.
Important: Save the API key that is returned when creating a service. This information will only appear this time, so you will have to download it and enter it later when downloading the plugin.

Give access to users
To add a user to a service, start from the “Applications” section, select the service to which you want to add one or more users. Once in the information page on a service, click on Add User in the “Users with access to …” card.
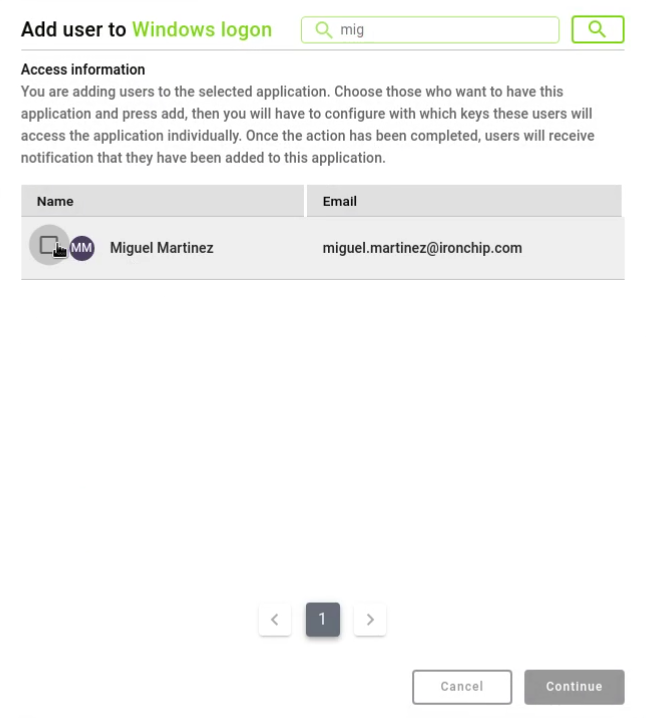
In the opened window select the user(s) you want to add and click on Continue.
The next step is to configure access to the service. To do this, the following steps must be followed:
The user name should be the same as the one with which one logs in to windows without including the domain and without including the email address.
- Verify the username and security requirements, the first one is modified by clicking on the pencil icon. Click on Continue.
- Select the personal device to be used for the authentication process. Click on Continue.
- Select the secure zones both personal and shared that will be used to access the selected service. Click Continue.
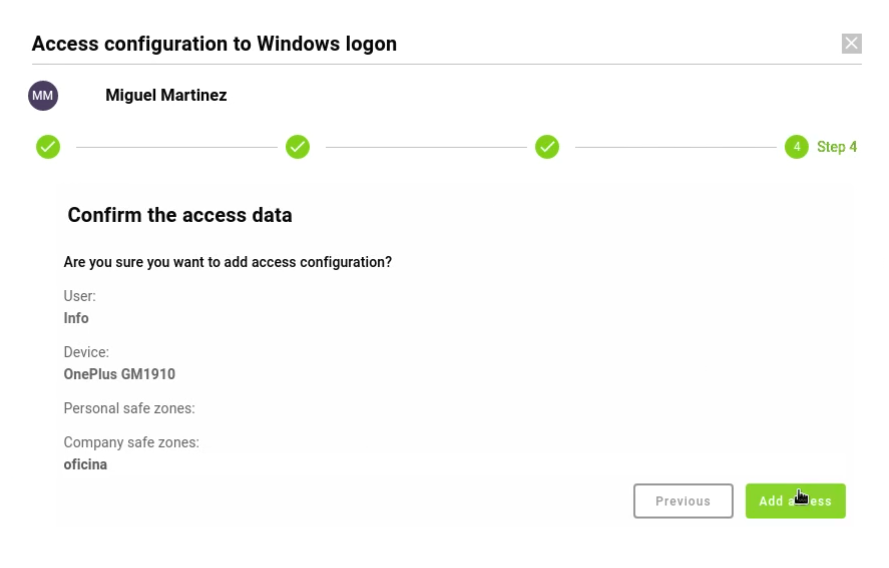
- Verify all the configurations previously selected and click Add Access.
The user will have been added to the service with the selected configuration. This can be changed at any time.
Windows logon plugin installation
The Ironchip Windows Logon agent can be found in the “Plugins” section of the Ironchip Location Based Authentication administration panel.
After downloading the plugin you will proceed to install it.
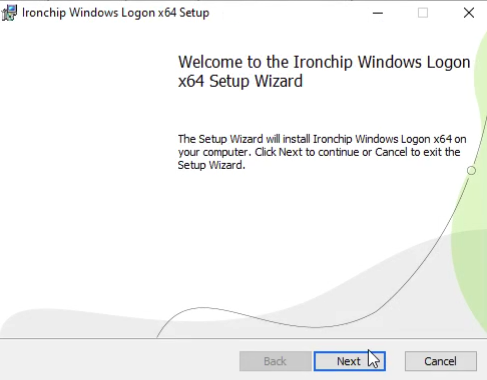
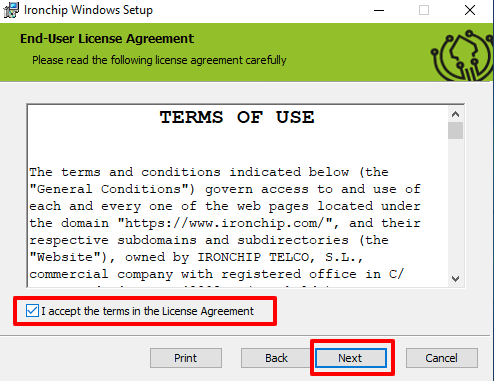
Click Next, on the next screen you will accept the terms of use, and click Next again.
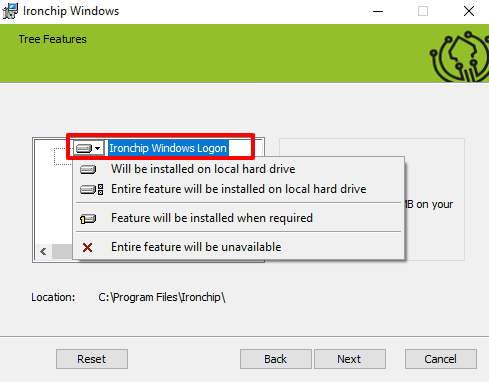
Once on the next screen, the first option will install the Ironchip Windows Logon service, it is possible to choose some installation options by clicking on the drop-down to the left of the service name.
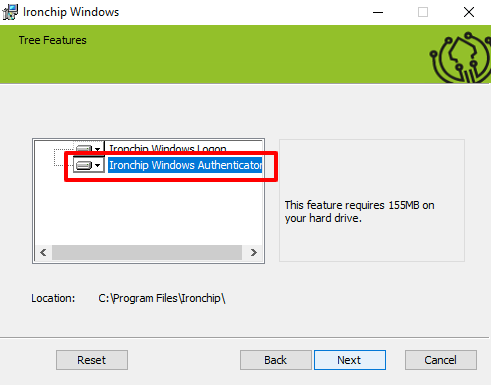
In the second option, we will install the Ironchip Windows Authenticator, a desktop authentication application, in the drop-down to the left of the service name we will find different installation preference options, the same as those found in the previous option.
If we install this second option, we can use the same device to authenticate us. It will also allow us to use an external device on which we can carry our credentials and make use of them at the time of authentication.
If you have any doubts about the moment of your choice, you can reset to the default values with the Reset button, if you are satisfied with your choice, click on the Next button.

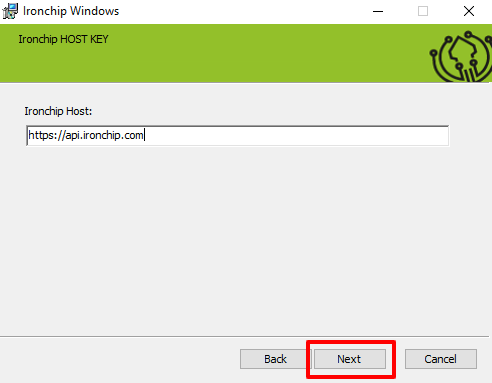
In the next screen, you select the environment to which the application is pointing, by default the production environment is set, so it would only be necessary to click on the Next button, in case you need to make any changes in this step to our technical team will provide you with this information.
In the next screen, enter the API KEY obtained when creating the service, in the Ironchip API Key parameter and then click on the Next button.

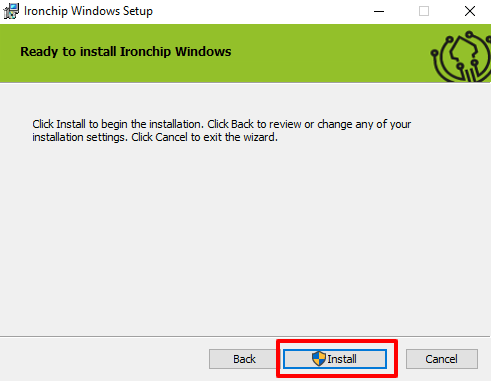
Once in the following screen and with all the parameters configured correctly, click on the Install button.
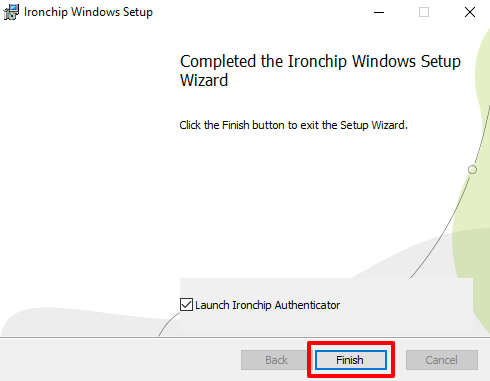
If everything has been configured correctly and the installation has been successful, you will see the following screen. Finally, to finish the installation, click on the Finish button.
Important: There is the possibility to make the changes that you consider necessary for the correct functioning of the service, you can do this by returning to the installer, clicking on the Next button, and on the second screen choosing the option Change.

Authentication
To authenticate to Windows, enter your username and password as usual. The user will receive a notification of the created service and will authorize access to it.
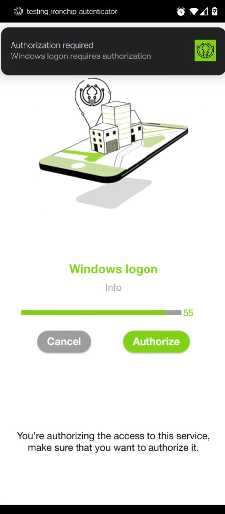
This authentication process will take a few seconds. When finished, you can see that the user has been successfully authorized.