Configuration
SAML application configuration in IRONCHIP
We return to the IRONCHIP configuration wizard to create a custom SAML application, where we will be prompted for the “Metadata URL” generated in the previous step once we have saved and re-edited the authenticator in UDS Enterprise.
![samlapplication](../../../../../../images/location-identity-platform/integrations/Virtual-Cable/configuration.png?width=40pc)
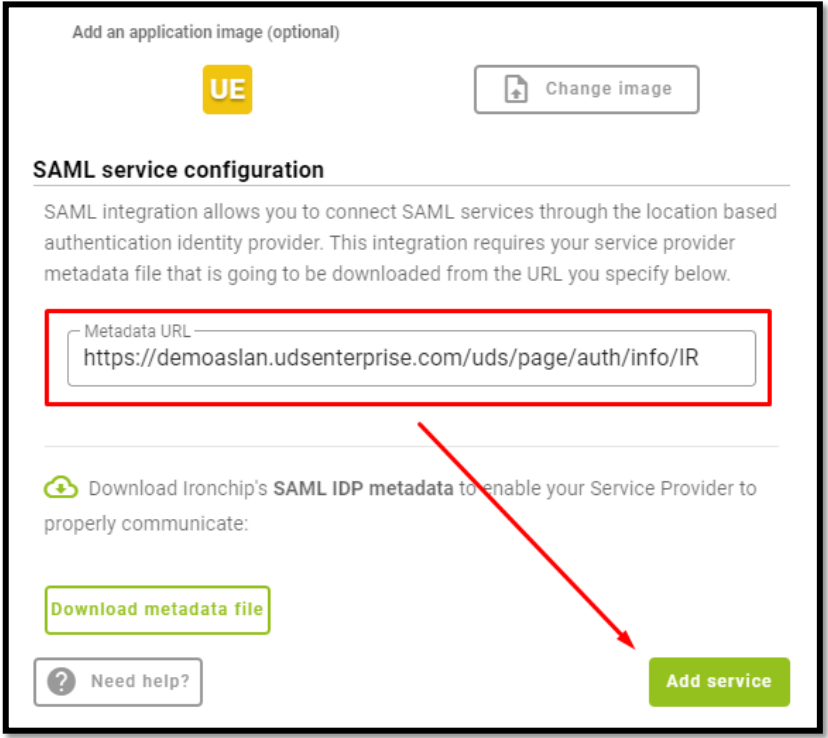
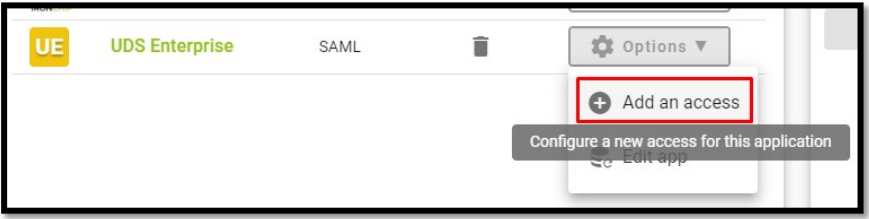
Once the URL has been entered, we will finish the wizard. The next step will be to give access to our users to the created application:
![samlapplication](../../../../../../images/location-identity-platform/integrations/Virtual-Cable/configuration2.png?width=40pc)
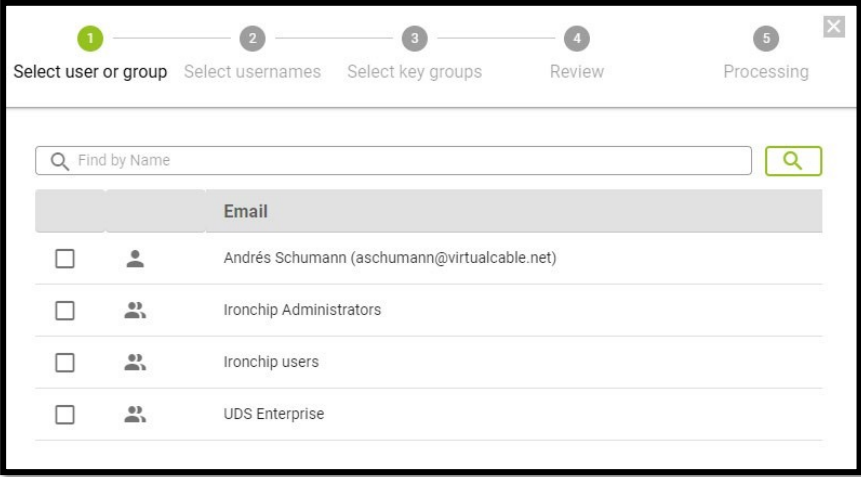
We will be able to add users individually or groups of users:
![samlapplication](../../../../../../images/location-identity-platform/integrations/Virtual-Cable/configuration3.png?width=40pc)
![samlapplication](../../../../../../images/location-identity-platform/integrations/Virtual-Cable/configuration4.png?width=40pc)
![samlapplication](../../../../../../images/location-identity-platform/integrations/Virtual-Cable/configuration5.png?width=40pc)
![samlapplication](../../../../../../images/location-identity-platform/integrations/Virtual-Cable/configuration6.png?width=40pc)
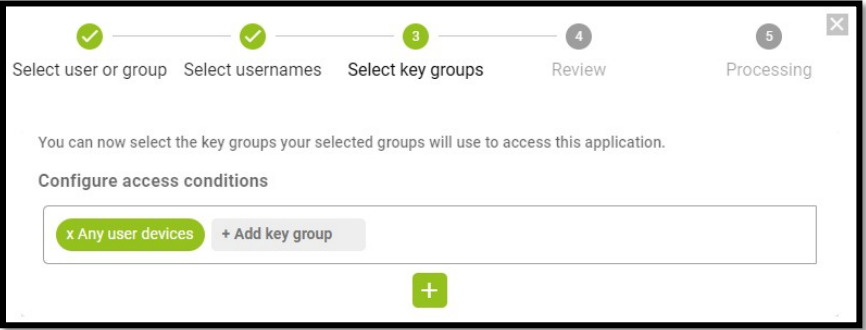
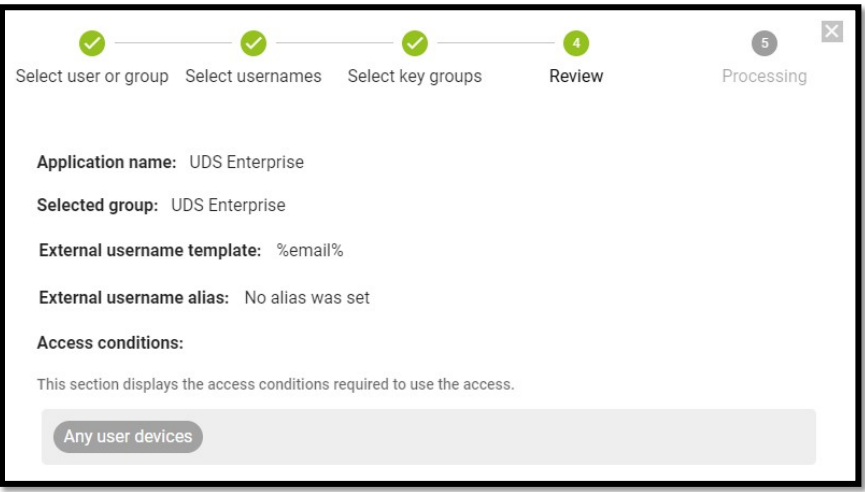
With these steps we will have created our application in IRONCHIP and we will be able to continue with the following point.
Updated: June 1, 2023