Authentication
Creación del autenticador SAML en UDS Enterprise
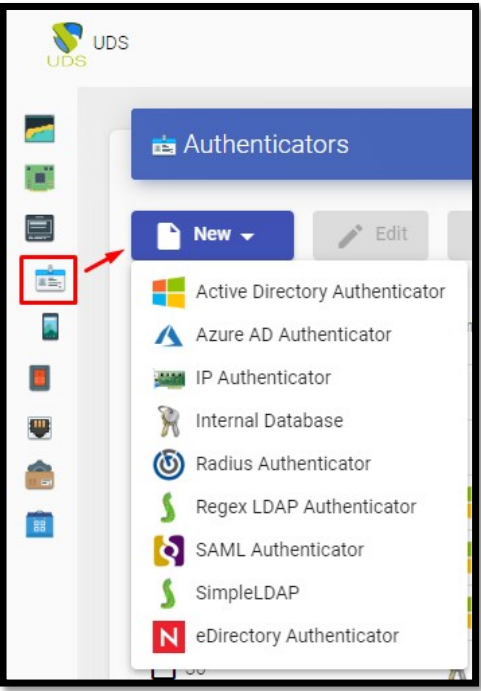
Access the UDS Enterprise administration and go to the “Authenticators” section, select “New” and choose “SAML Authenticator”.
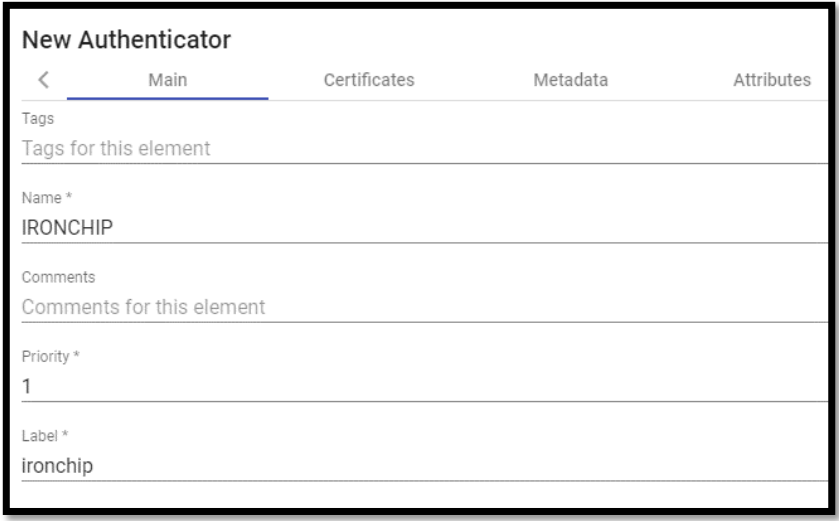
In the “Main” tab we will indicate a name for the authenticator (it cannot contain spaces), the priority and a “Label”.
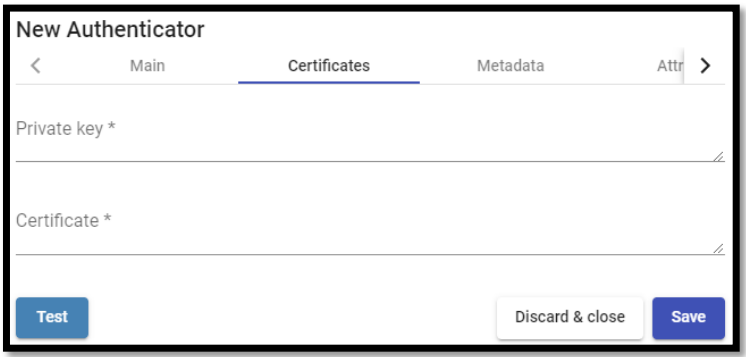
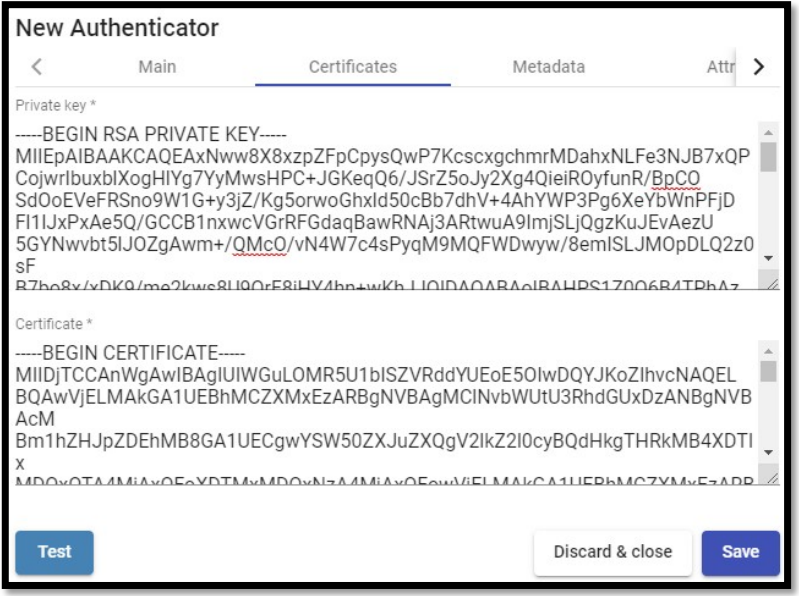
In the “Certificates” tab we must indicate a valid certificate and its key. They must be in PEM format:
If you do not have certificates, you can generate one with OpenSSL. To generate it, we will use the following statement (the UDS server has OpenSSL installed, you can use this machine to generate the certificate):
openssl req -new -newkey rsa:2048 -days 3650 -x509 -nodes -keyout server.key -out server.crt Once the certificate is generated, we must share the key with RSA, for this, we will use the following command: openssl rsa -in server.key -out server_rsa.key
Example of certificate generation:
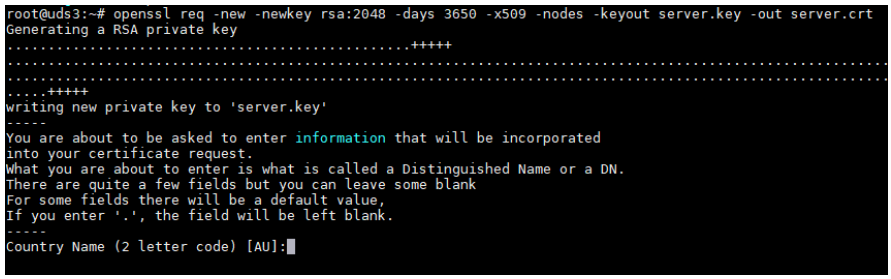
Execute the command and fill in the necessary data to generate the certificate:
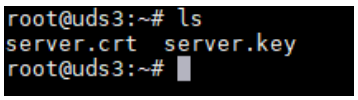
Now we convert the key to rsa:

Copy the contents of the certificate file and the rsa key to UDS:

The key will be copied in the “Private Key” section and the certificate in “Certificate”:
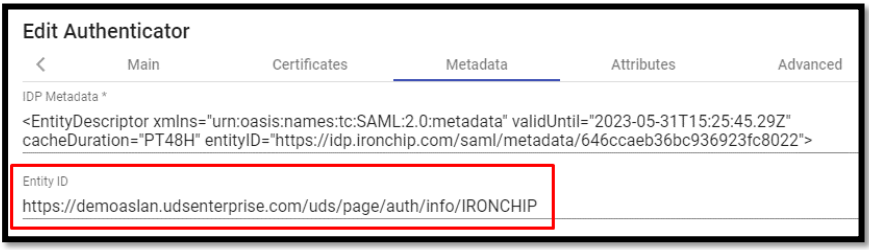
In the next tab, “Metadata”, we will complete the “IDP Metadata” section with the metadata downloaded from IRONCHIP in previous steps (step 2 of the custom SAML application registration). It is important to copy the complete content of the file. To do this it is recommended to open the file with a suitable application and never with a browser (it hides parts of the code…):
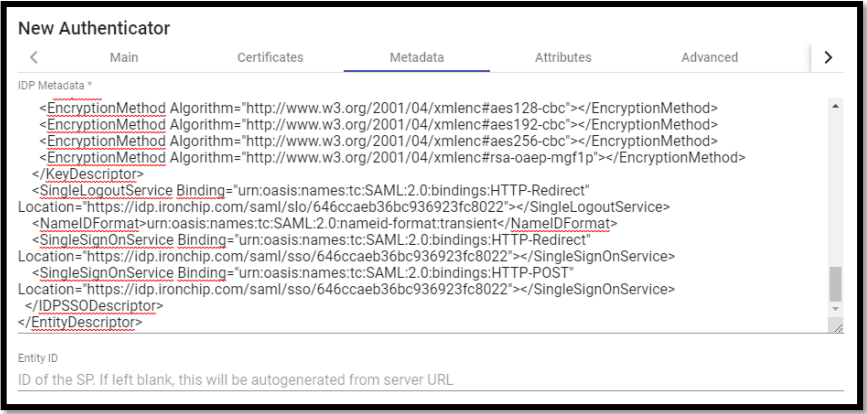
The “Entity ID” section will be left empty, as it will be automatically filled in when the authenticator is saved. The data will be generated based on the URL used in the connection to the UDS Enterprise portal. We save the authenticator (we will have to indicate any data in the “Attributes” tab to allow us to save. In the following steps we will return to this section and the final configuration will be applied) and when editing it again we will be able to obtain the “Entity ID” data necessary to continue configuring the SAML custom application in the IRONCHIP console.