Plugin installation
Installing the NPS Plugin
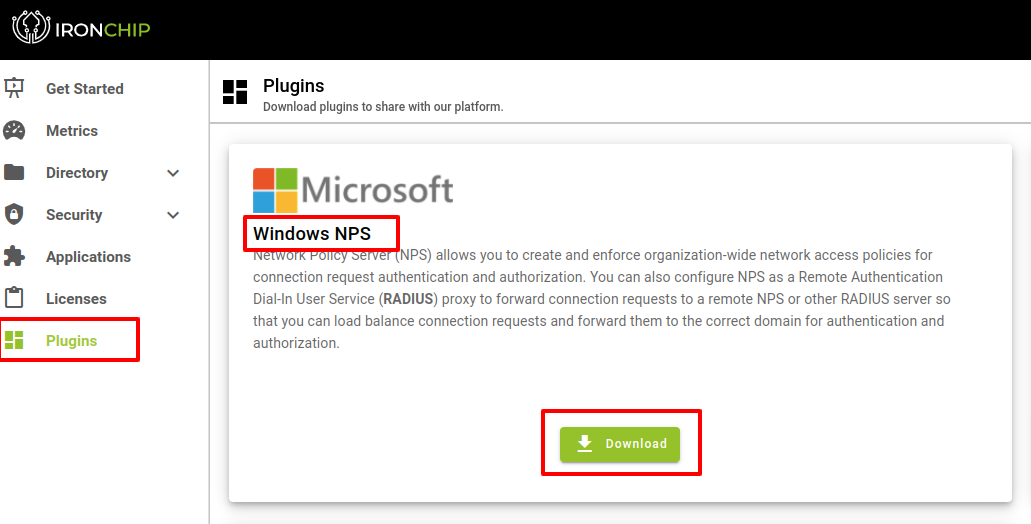
To install the plugin, you need the file IronChip Windows NPS, which can be downloaded from Plugins section in Ironchip Dashboard.
After downloading the plugin you will proceed to install it.
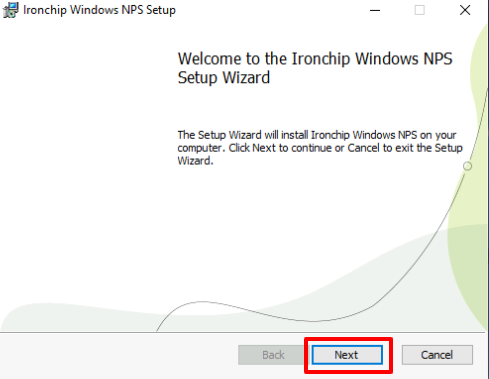
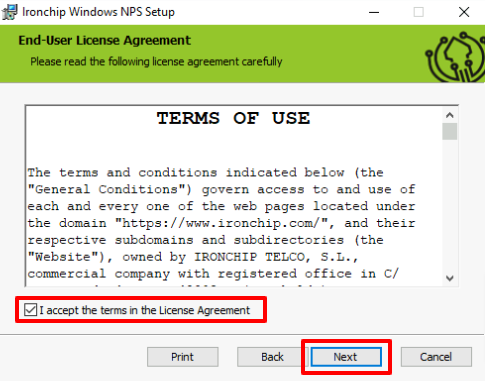
Click Next, on the next screen you will accept the terms of use, and click Next again.
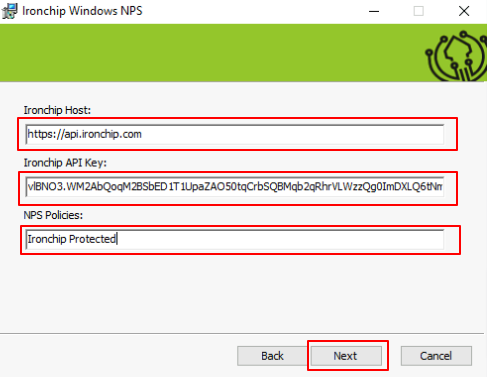
Next window you will need to fill it with the following information:
- Your Ironchip host. If you are using our cloud solution, it will be api.ironchip.com. If not, please provide your custom host.
- Your company’s API Key achieved when creating the service.
- The network policy name you wish to protect with Ironchip NPS. In the example the created policy, IronchipProtected, will be used.
- Then click on Next to continue.
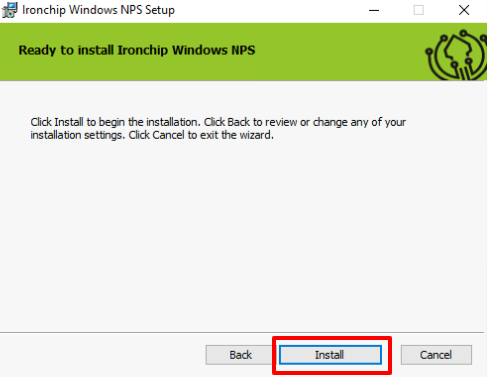
Once in the following screen and with all parameters configured correctly, click Install
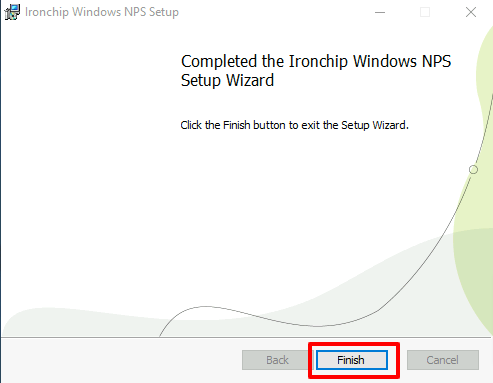
If everything has been configured correctly and the installation has been successful, you will see the following screen. Finally, to finish the installation, click Finish.
Test NPS Plugin
-
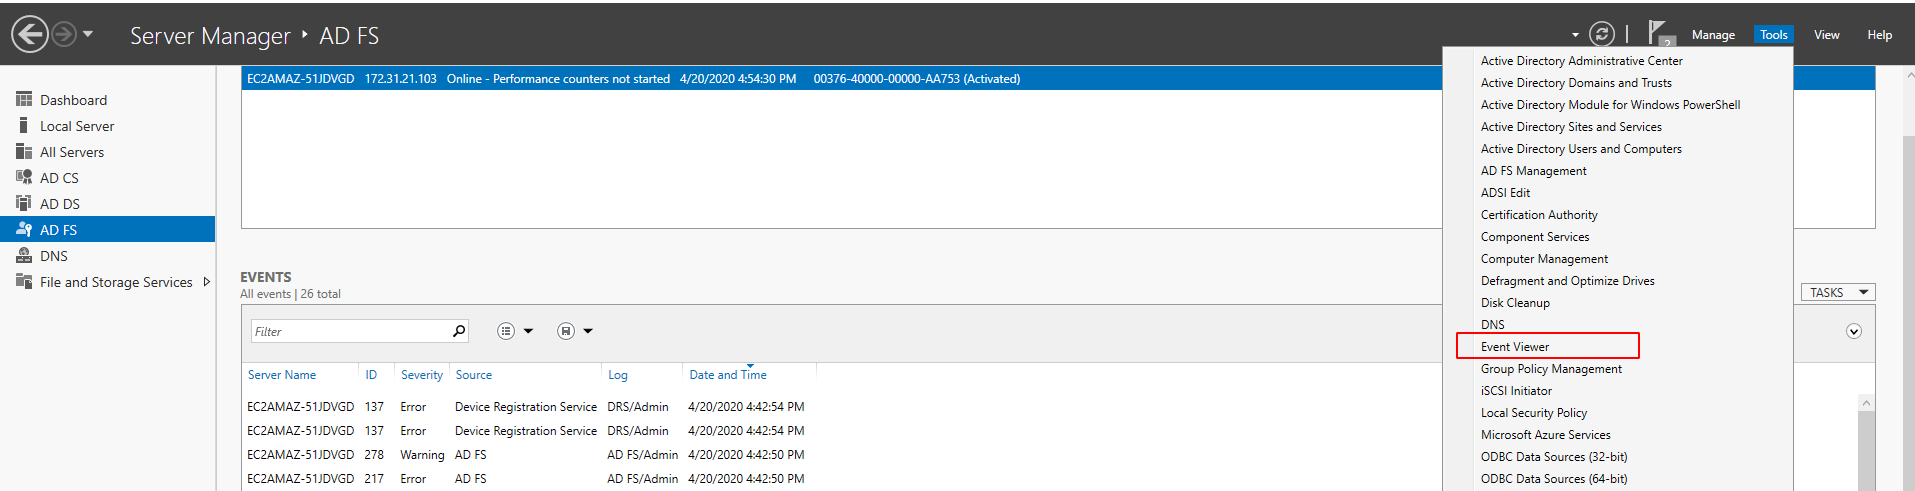
Access the Event Viewer to view the IronChip NPS plugin logs.
-
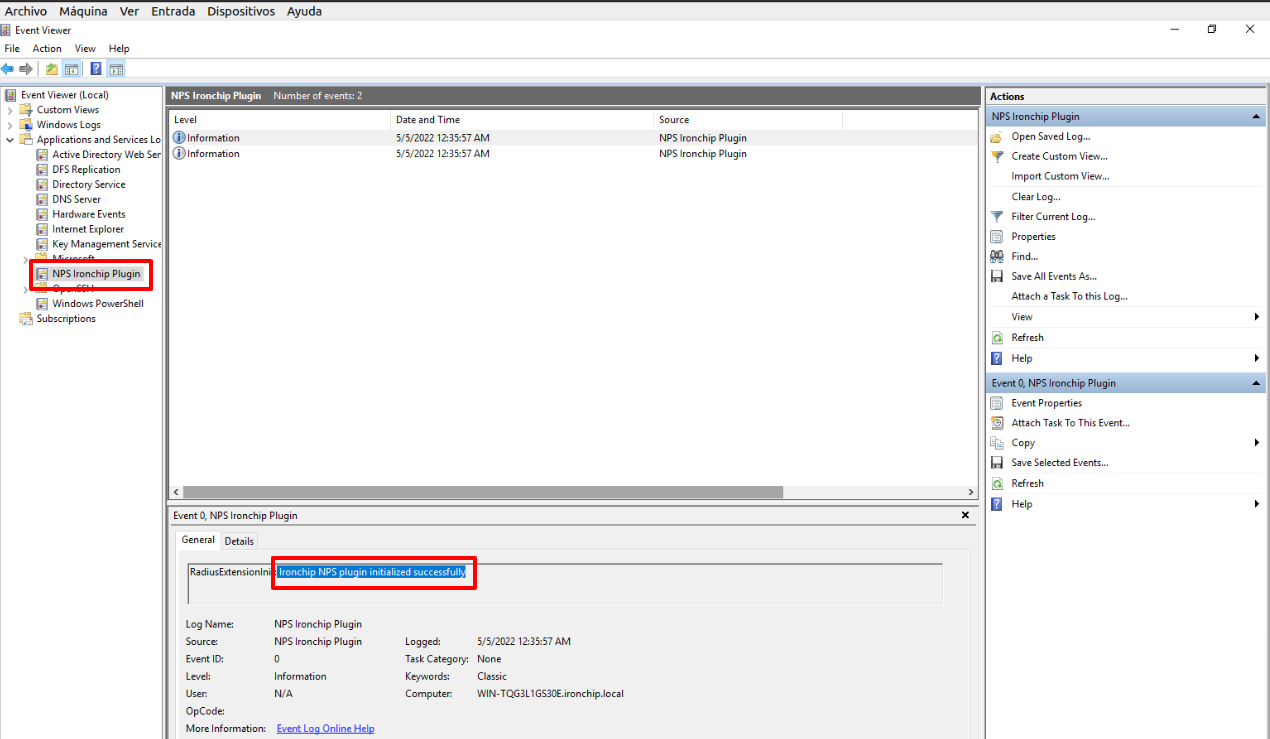
If everything is OK, you should see NPS Ironchip Plugin in the list of applications and services logs. Click on it, and if the plugin is installed you should see Ironchip NPS plugin initialized successfully. in the logs as you can see here:
Note: If you get the message Unable to load IronChip license key. Check that it is the correct license and try again. If the problem persists, contact IronChip support for assistance.