Active Directory Federation Services
Configuring AD FS
The next step is to set up the federation service.
-
In the Server Manager control panel, the alert will open and then select Configure the federation service on the server.

The Active Directory Federation Service Configuration Wizard opens.
-
On the Welcome page, select Create the first federation server in a federation server farm, and then click Next.
-
On the Connect to AD DS page, specify an account with domain administrator rights for the ironchip.local Active Directory domain that this computer is joined to, and then click Next.
-
On the Specify Service Properties page, do the following, and then click Next:
- Import the SSL certificate that you have obtained earlier. This certificate is the required service authentication certificate. Select it in dropdown.
- To provide a name for your federation service, type adfs.ironchip.local. This value is the same value that you provided when you enrolled an SSL certificate in Active Directory Certificate Services (AD CS).
- To provide a display name for your federation service, type Ironchip Corporation.
-
On the Specify Service Account page, select Use an existing domain user account or group Managed Service Account.
To complete step 5, you need to create an specific user for that service. Go to Step 1 add user if you dont know how to do it. Add a service-adfs user.
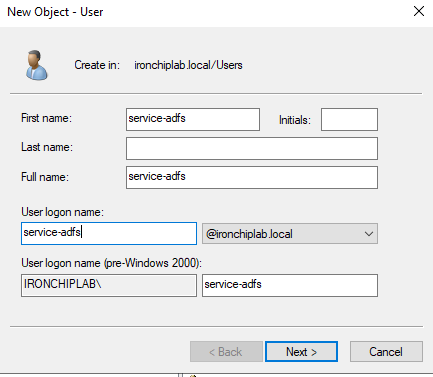
After that, you can go back to the wizard, and select that user
-
On the Specify Configuration Database page, select Create a database on this server using Windows Internal Database, and then click Next.
-
On the Review Options page, verify your configuration selections, and then click Next.
-
On the Pre-requisite Checks page, verify that all prerequisite checks were successfully completed, and then click Configure.
-
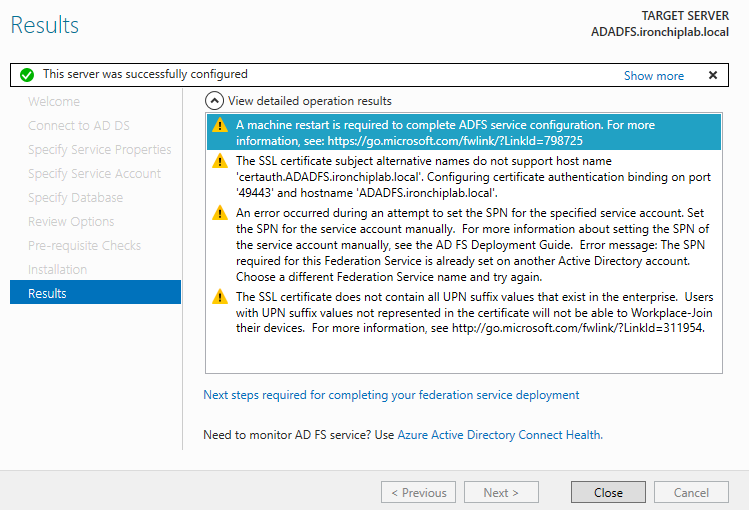
On the Results page, review the results, check whether the configuration has completed successfully, 4 warnings will prompt, but dont worry about that at now.