Network Policy Server
Network Policy Server Configuration
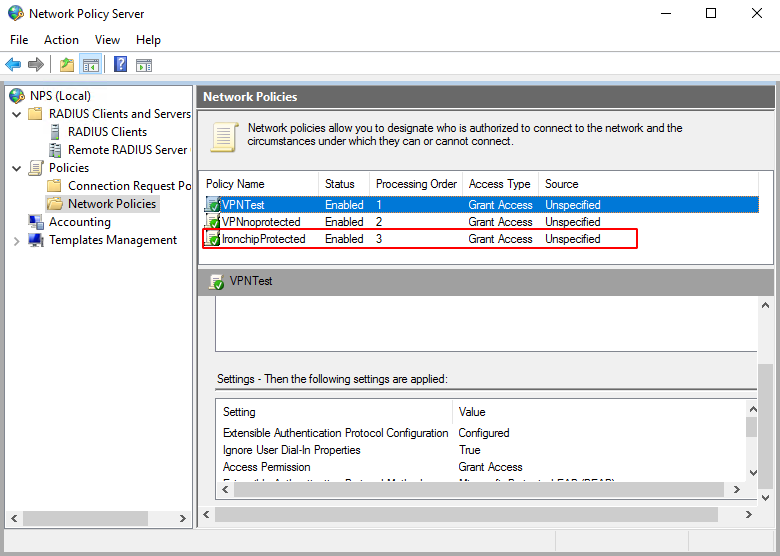
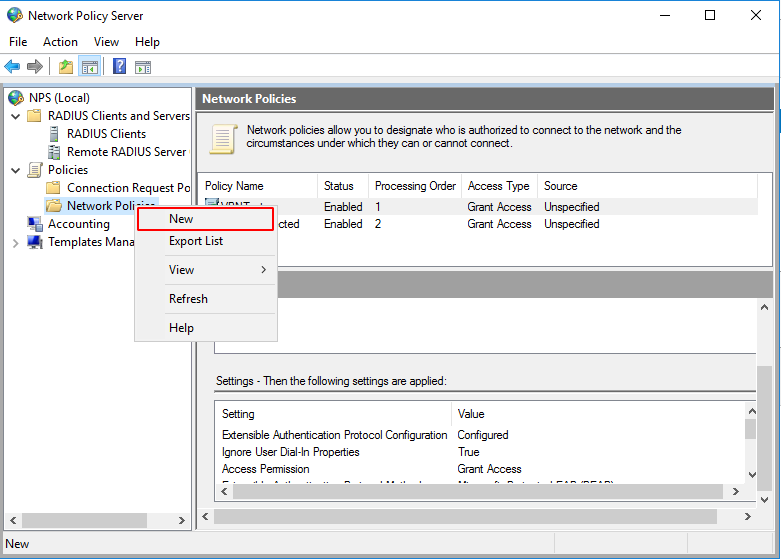
Ironchip Multifactor Authentication uses network policies to determine which user or group will be protected with Ironchip. To do this we must create a new network policy on the server.
Provide a name for the policy. This name will be used when installing the NPS plugin, to determine which policy to protect.
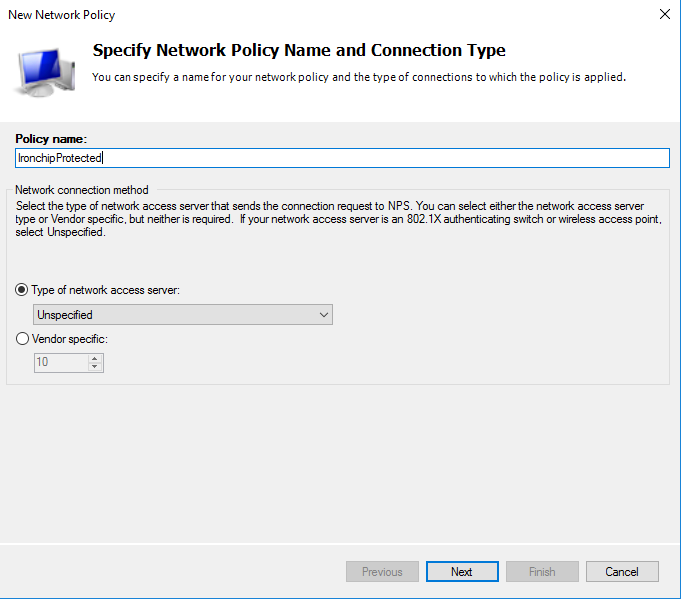
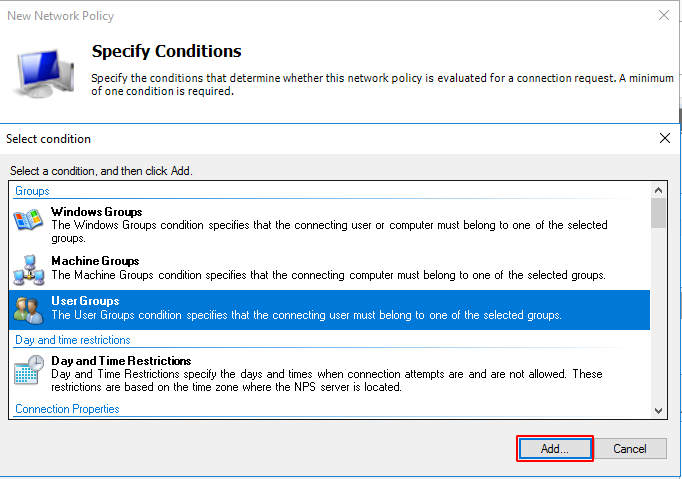
Click on Next. In the next window you will add all the conditions you want to determine, i.e. for whom and when the policy being created will be applied.
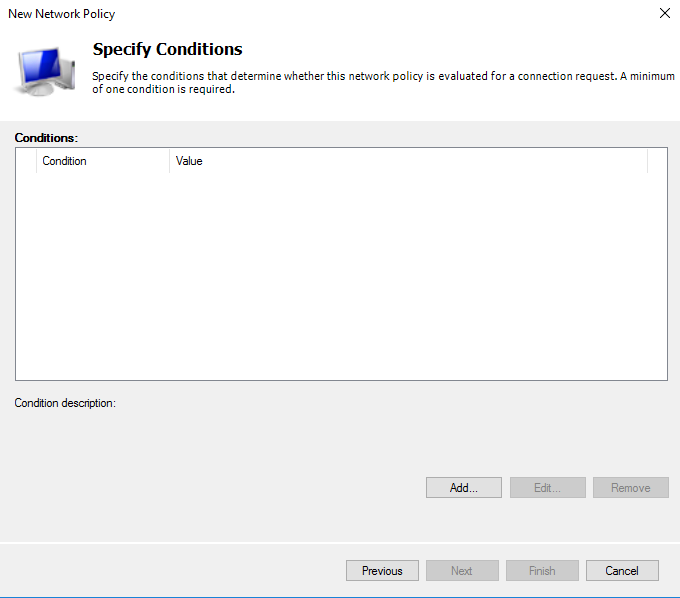
For example, it shall be determined that this policy shall apply when a user is a member of the Ironchip group.
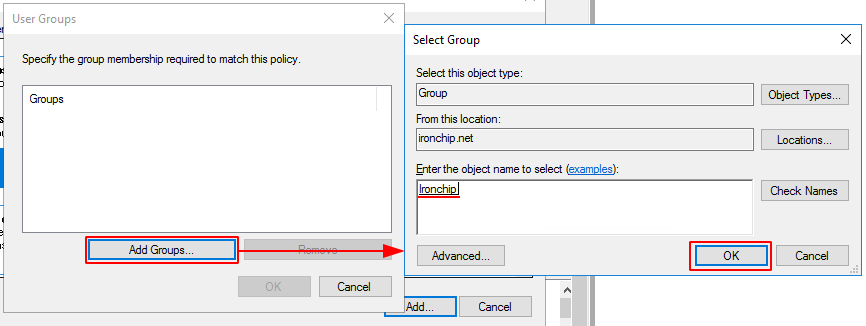
Once added and configured you will see the following result. Click on Next.

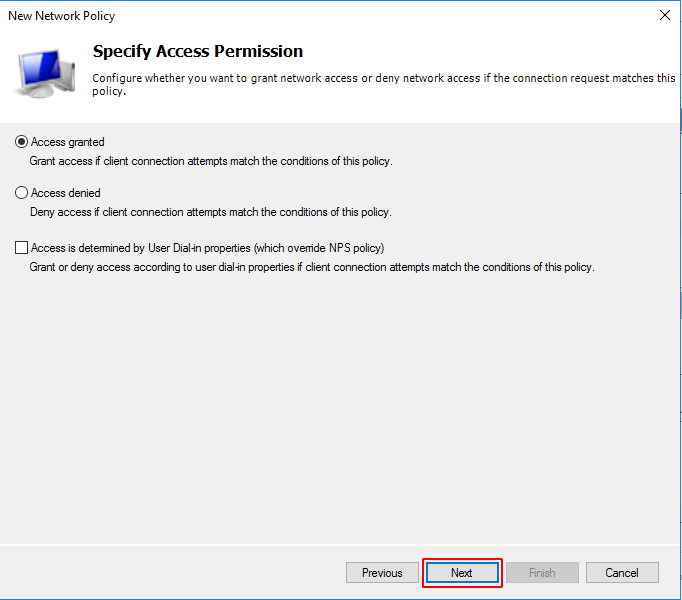
Select Access granted to grant access to users who meet the conditions of this policy. Click on Next.
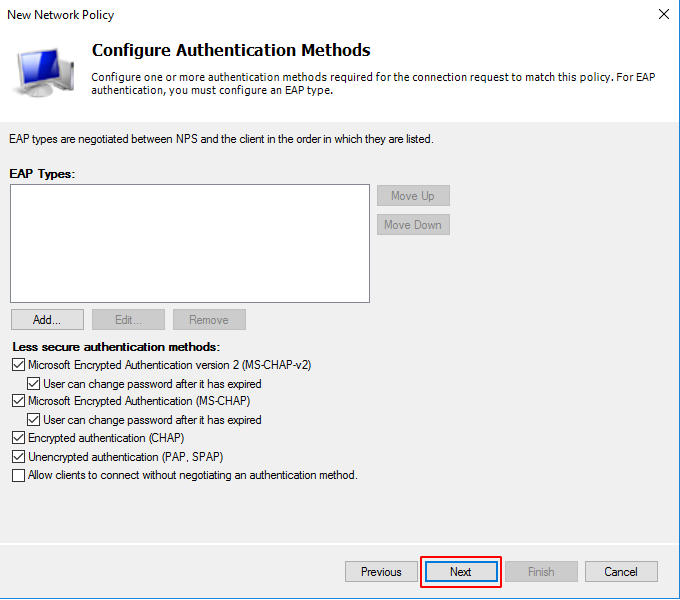
On the next screen, configure the authentication methods you will use. Click on Next.
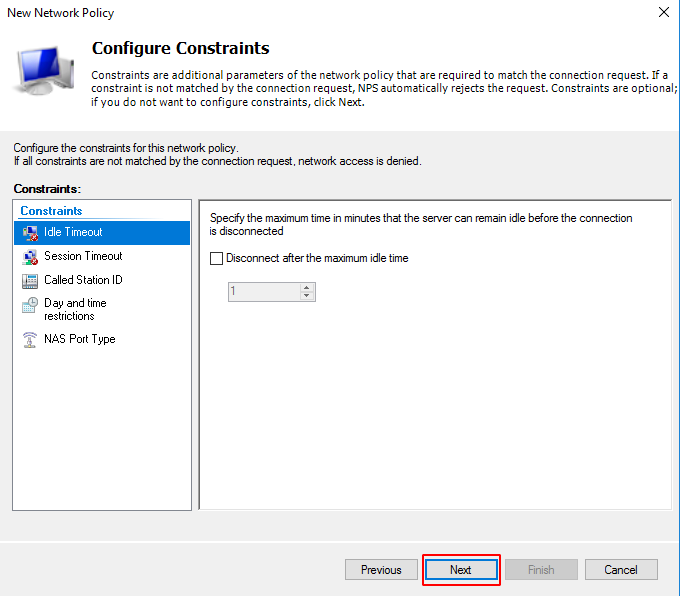
The next screen is for setting the restriction to automatically deny access if one of these restrictions is not met. Fill this in with the options you want. Click on Next.
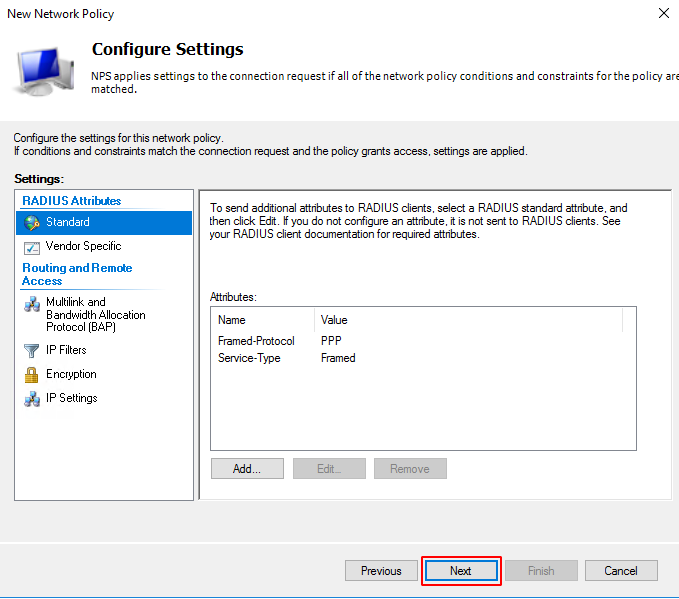
In the next screen you can add the settings that will be applied when the policy restrictions are met. Click on Next.
The last screen is a summary of the selected configuration. Check that everything is OK and click on Finish.
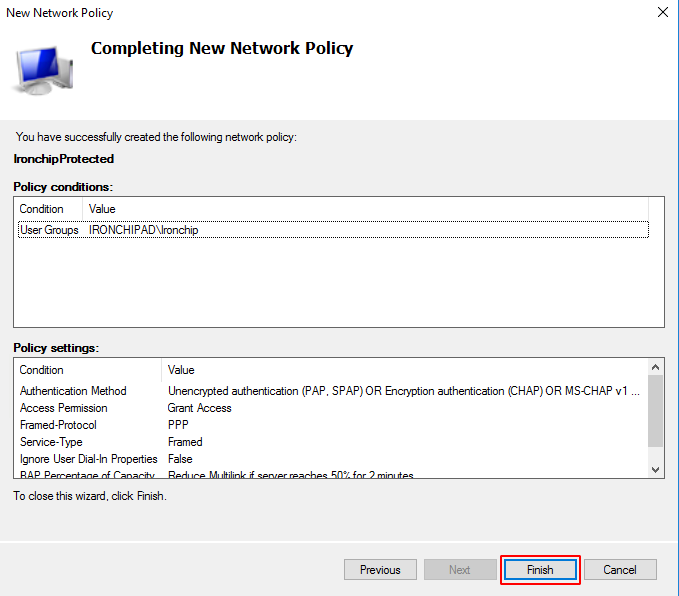
You have added the network policy and everything is ready to create the service and install the NPS plugin.