Claims Xray
Configuring Claims Xray as test AD FS Application
Navigate to https://adfshelp.microsoft.com/ClaimsXray/TokenRequest and follow instructions.
Execute PowerShell as Administrator and run:
$authzRules = "=>issue(Type = `"http://schemas.microsoft.com/authorization/claims/permit`", Value = `"true`"); "
$issuanceRules = "@RuleName = `"Issue all claims`"`nx:[]=>issue(claim = x); "
$redirectUrl = "https://adfshelp.microsoft.com/ClaimsXray/TokenResponse"
$samlEndpoint = New-AdfsSamlEndpoint -Binding POST -Protocol SAMLAssertionConsumer -Uri $redirectUrl

Add-ADFSRelyingPartyTrust -Name "ClaimsXray" -Identifier "urn:microsoft:adfs:claimsxray" -IssuanceAuthorizationRules $authzRules -IssuanceTransformRules $issuanceRules -WSFedEndpoint $redirectUrl -SamlEndpoint $samlEndpoint
This adds claims xray as RelyingPartyTrust.
If you want to add OIDC integration execute:
Add-AdfsClient -Name "ClaimsXrayClient" -ClientId "claimsxrayclient" -RedirectUri https://adfshelp.microsoft.com/ClaimsXray/TokenResponse

if ([System.Environment]::OSVersion.Version.major -gt 6) { Grant-AdfsApplicationPermission -ServerRoleIdentifier urn:microsoft:adfs:claimsxray -AllowAllRegisteredClients -ScopeNames "openid","profile" }
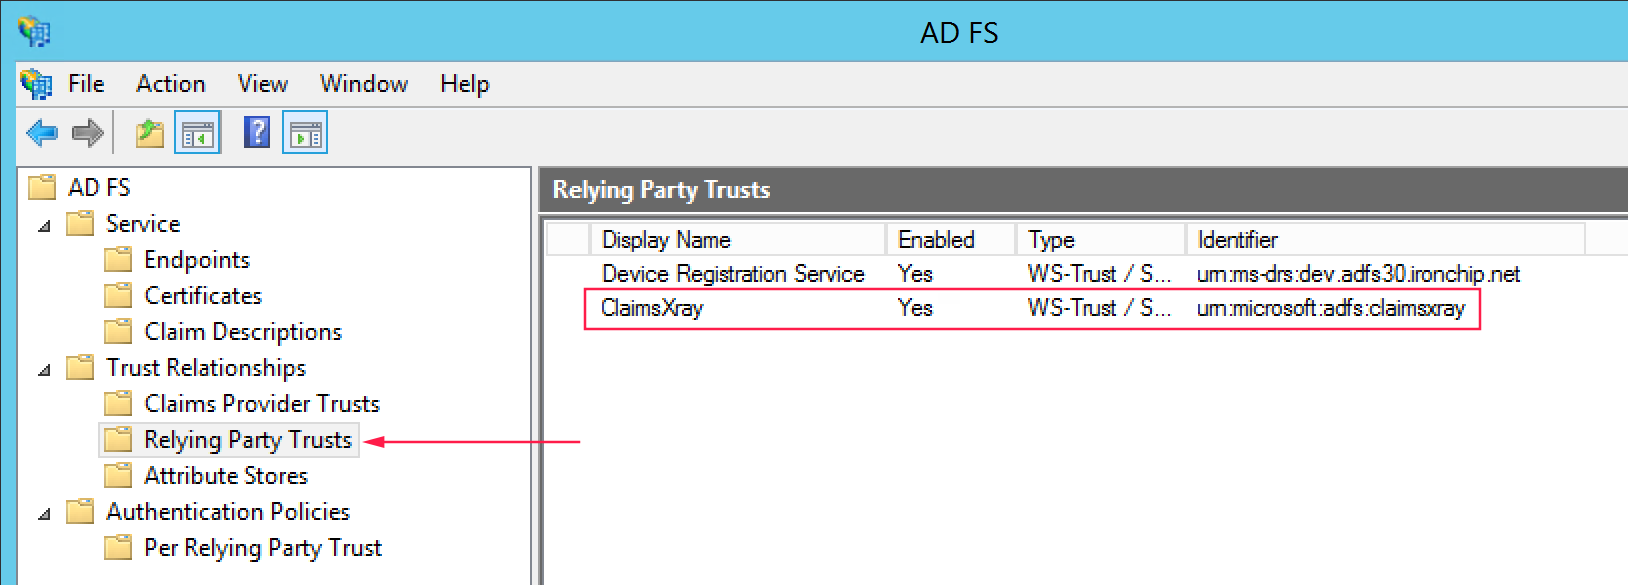
Now we should see Claims Xray as Relying Party Trusts.

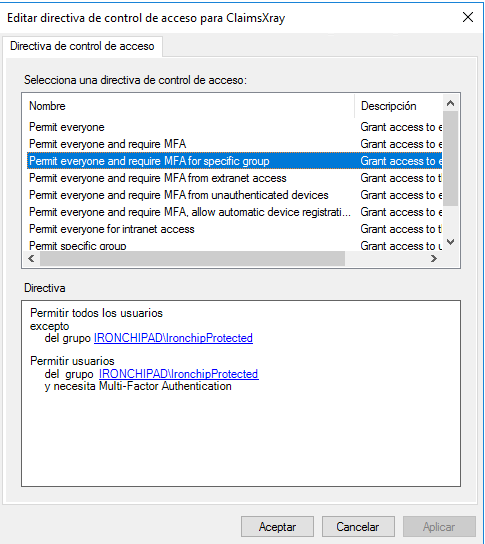
If in access control directory you don’t have any parameter, you should press the right button and click on edit access control directory and delete all. After that you should delete all and the select the third one, permit everyone and MFA for specific group, in the lower part you should select the protected group.

Inside authentication methods in multifactor authentication methods you have to see IronchipMFAAdapter. If you can’t see it you have to edit and add it.

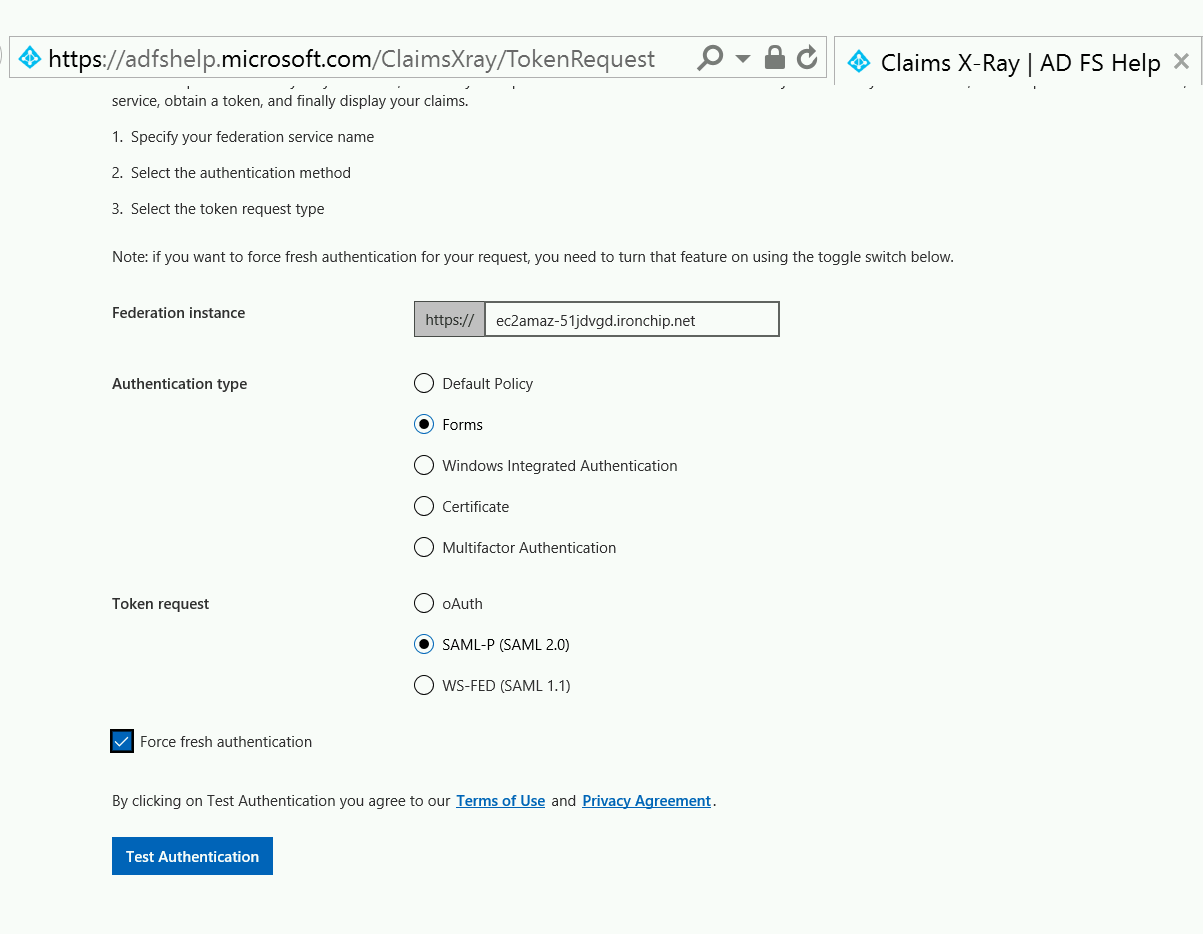
You can use the tool to test AD FS. After that, yo, configure it as you can see in next image:

When you click on Test Authentication, you will be redirected to your ADFS.
